Photo by Thomas J. Story; designs by Jennifer Ament
Carve up some pumpkin art
We asked one of our favorite artists, Seattle-based linocut printmaker and painter Jennifer Ament, how she’d translate her Northwest-influenced designs to pumpkin carvings—and were wowed by the results. Inspired by the landscape and wildlife near her favorite spot at Lake Sammamish, Ament’s artful carvings trump the idea that Halloween decor has to feel kitschy. (And serve as proof that it always works to find creative design ideas in our natural surroundings.)
Check out Jen’s Northwest landscape and wildlife-inspired collection of linocut prints.
Photo by Thomas J. Story; designs by Jennifer Ament
Do it yourself
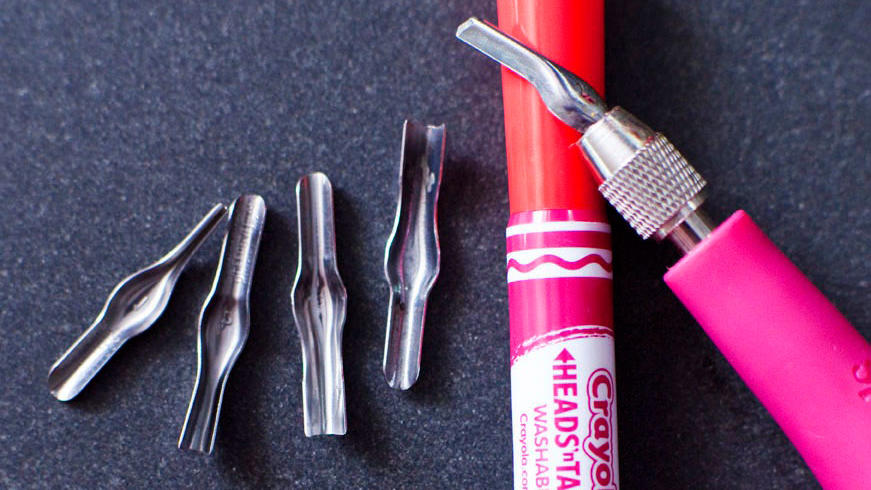
Materials: Washable marker, carving tool(s), pumpkins in interesting shapes and varying sizes
- Draw or photocopy a design to desired size. Seek inspiration in antique Audubon books (freestanding animals), and foliage from your own backyard.
- Cut out top of pumpkin and scrape interior clean. (You can also chose to skip this step and not hollow the pumpkins.)
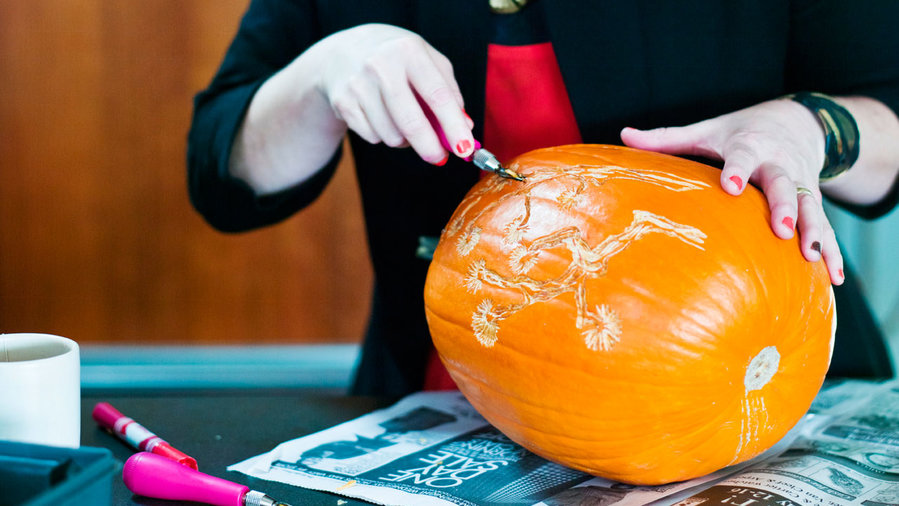
- Copy desired design onto pumpkin with washable marker (freehand), or transfer design to pumpkin.
- Using a pumpkin carving tool, carve into the design about 1/4 in deep, being careful not to break through pumpkin flesh (rather, scraping a hollow relief).
- If you’ve hollowed your pumpkins, set them aglow with multiple tea lights, or battery operated candles.
Photo by Thomas J. Story; designs by Jennifer Ament
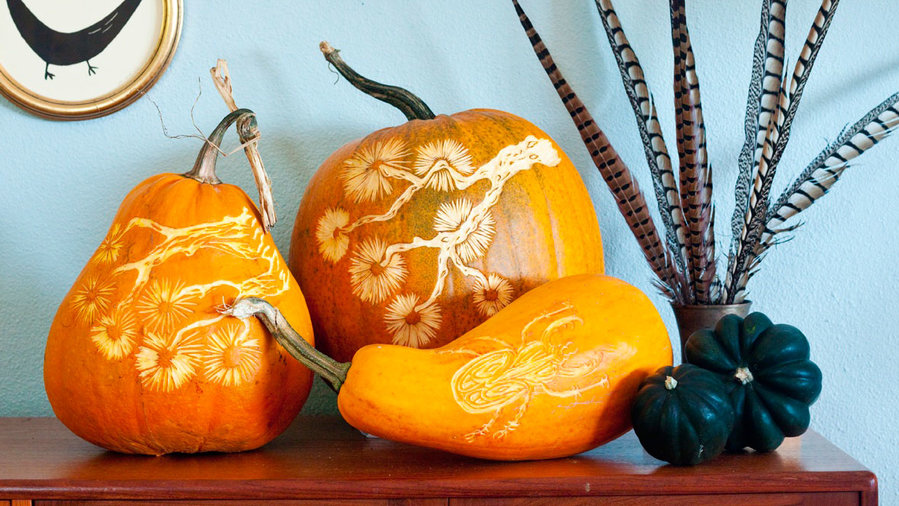
Pine branches and beetle
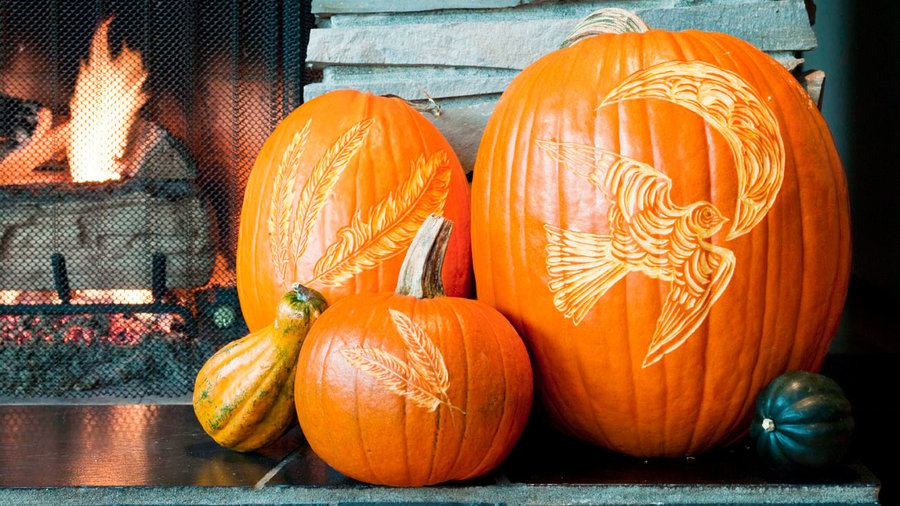
Pumpkins aren’t only for the outdoors! Jen suggests arranging a few atop the dining room console or living room coffee table and accessorize with festive elements like feathers.
Photo by Thomas J. Story; designs by Jennifer Ament
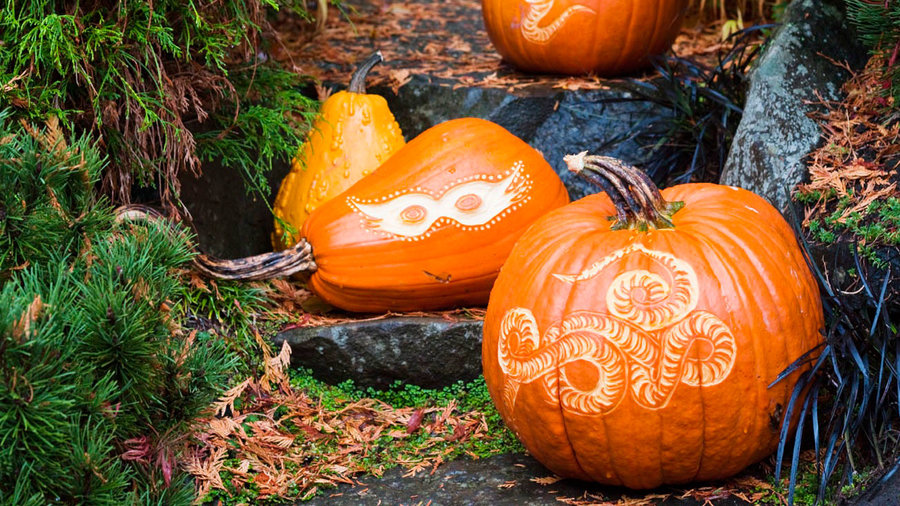
Snakes and mask
Create a spooky entryway that will delight trick-or-treaters! Jen’s mask design is inspired by Truman Capote’s famous masked ball.
Photo by Thomas J. Story; designs by Jennifer Ament
Feathers and hawk with crescent moon
This vignette was inspired by Jen’s time boating at Lake Sammamish—where she and her family always see the same hawk.
Photo by Thomas J. Story; design by Birte Walter
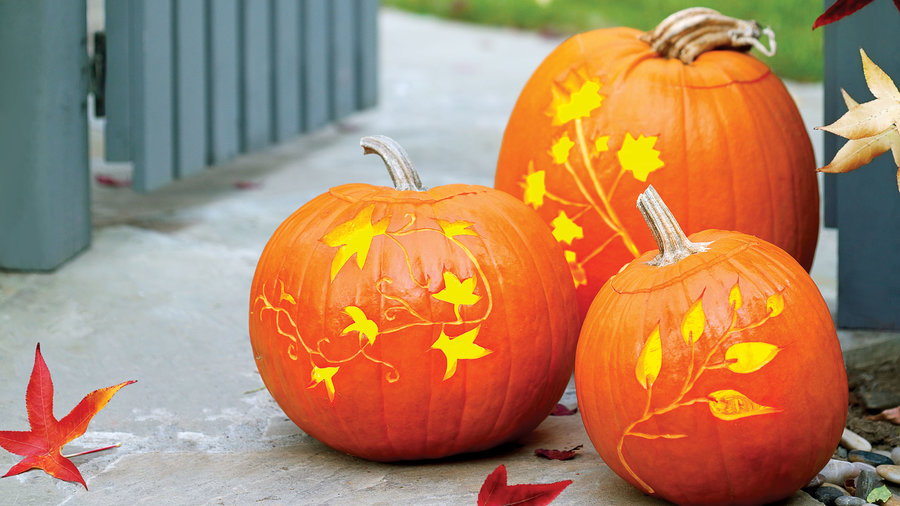
Glowing vines
A Sunset favorite: meandering patterns add a whimsical storybook appeal to your arrangement.
Photo by Thomas J. Story; design by Birte Walter
Foliage band
We like the subtle glow that slender foliage carvings add to a front porch.
Photo by Thomas J. Story; design by Birte Walter
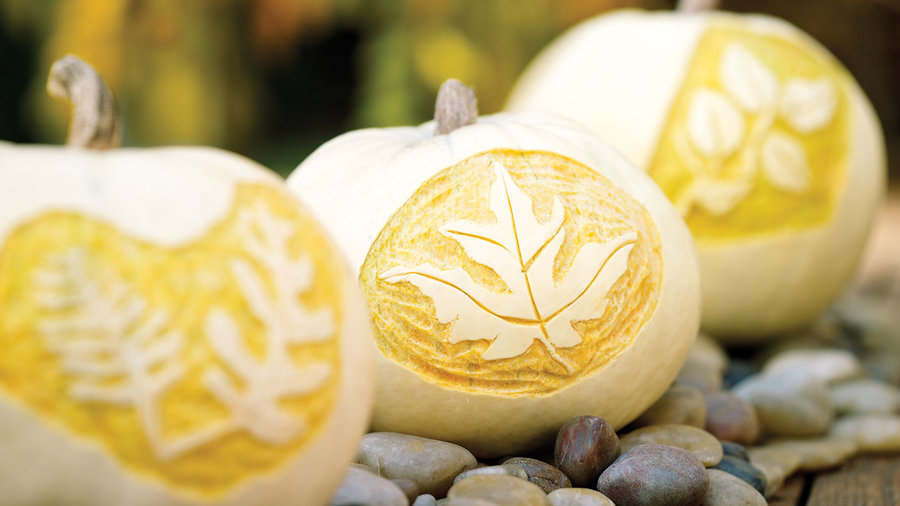
Silhouettes
Create a centerpiece-worthy embossed effect with no candle or seed scooping required. Arrange multiple silhouetted pumpkins along the center of an outdoor table. We added stones and leaves to complete the setting.
Photo by Thomas J. Story; design by Birte Walter
Twinkling branches
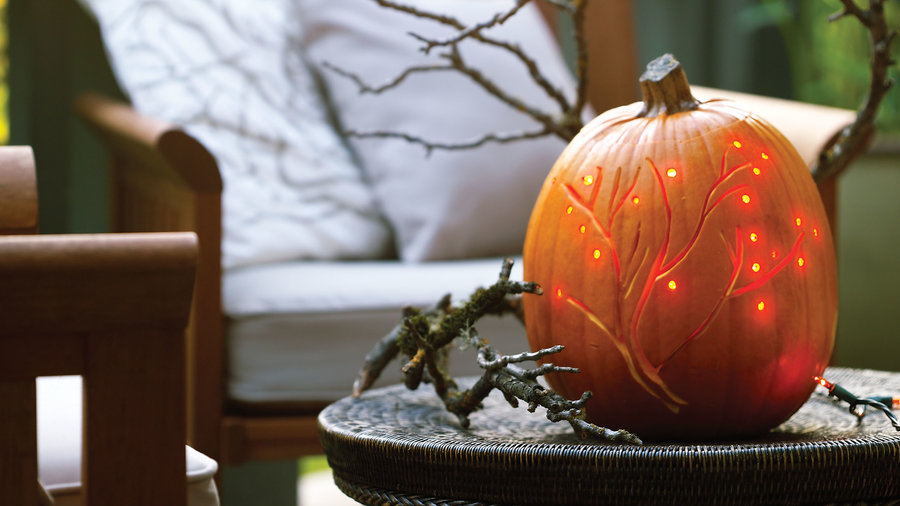
Orange twinkle lights illuminate our vignette. Cut a small hole for an electrical plug in the back of pumpkin, near its base, and feed indoor-outdoor twinkle lights inside pumpkin. From interior, poke individual lights into berry holes. (An electric drill fitted with a small bit helps create holes at the branch tips.)
Photo by Thomas J. Story; design by Birte Walter
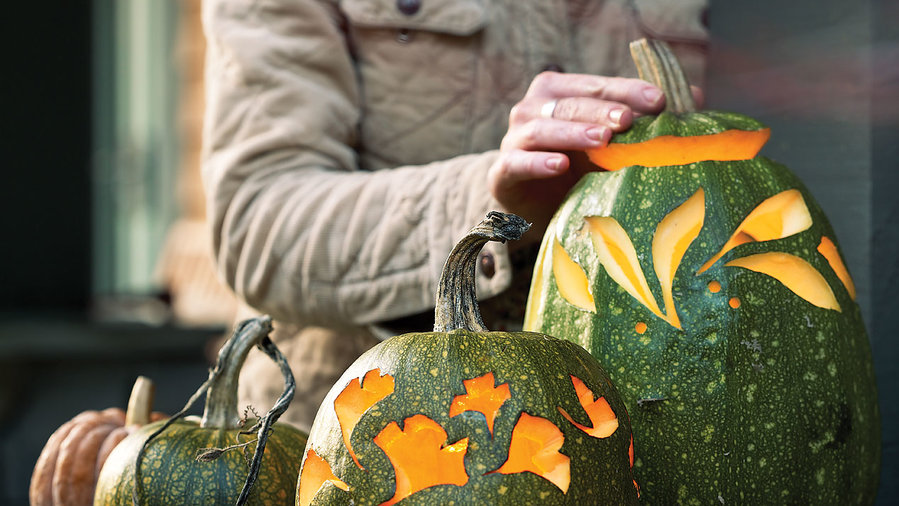
Harlequin leaves
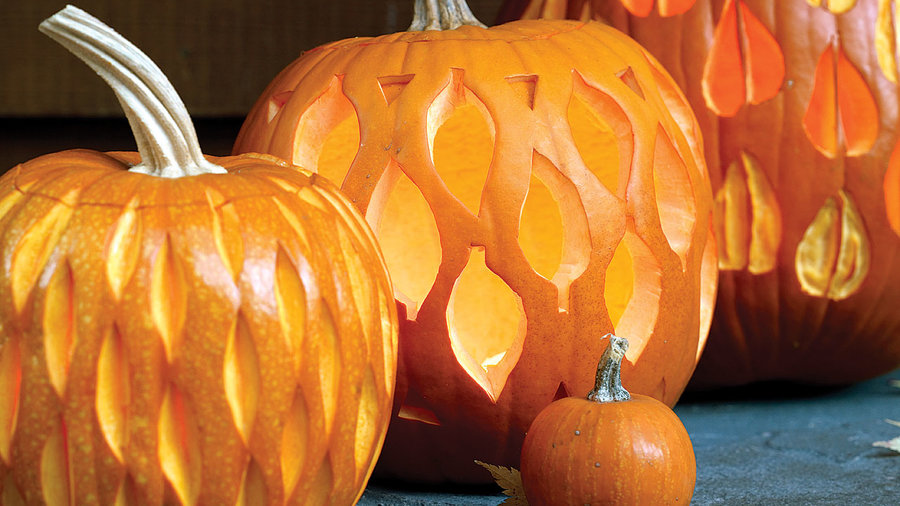
Repeat a single leaf shape for a quilted look on hollow pumpkins. (Tip: long, thin grooves at a 45° angle work best.)
