
Get a Head Start on Summer Camping by Sprucing up Your Tent, Camp Kitchen, & Boots
Don’t wait until the day before your trip to clean these vital camping items.

Halfdark
We only recommend things we love. If you buy something through our site, we might earn a commission.
Sure, it can be a drag hauling out all your camping gear a week before your spring trip in order to clean it. But an even bigger drag is realizing you have a dirty, stained tent when you get to your campsite.
So start early—at least a week before you’re due to go camping, if possible, so that materials can dry and any patches or replacements can be easily ordered.
More Videos From Sunset
In the winter, before you pack away your three-season tent (unless you’re a hardy winter camper), do some basic routine cleaning and you’ll save yourself a spring headache. Also, when you get to the campsite, keep it clean with these easy tips. That’ll help keep your gear clean too.
Focus on these four categories to stay organized: your tent, your sleeping kit, your hiking gear, and your camp kitchen.
Your Tent
Thomas J. Story
Why should you clean your tent before and after each camping trip? The answer is that animals have much stronger noses than you do, and they’ll sense any lingering stains or crumbs. To avoid unwelcome visitors in the middle of the night, you’ll need to both spot clean and immerse your tent.
First, spot clean with dish soap or Nikwax Tech Wash, a specially-formulated cleaner for outdoor gear. Then, immerse the inside-out, unzipped tent in a bathtub or large receptacle of lukewarm water with Nikwax. Lastly, refill the tub and rinse the tent thoroughly until all soap is gone. Line dry your tent.
If you’ve got an especially dirty tent, you’ll need to take additional steps. Scrub any muddy zippers with a wet toothbrush, apply mineral oil or alcohol to pine sap, and wash with Gear Aid Revivex for any mildew or mold.
Your Sleeping Kit
Your sleeping bag and pad deserve as much love as your tent, but the cleanup is a little easier on this one.
Sleeping Bag

Courtesy of Enlightened Equipment
First, you’re going to spot clean your bag using a little bit of Nikwax or gentle soap.
Next, check online or on your bag itself for washing instructions. When in doubt, opt for the delicate cycle and warm or cold water. Rinse again. Do not use laundry detergent on a sleeping bag, especially a down one. Nikwax Down Wash Direct is best for a down bag, while Nikwax Tech Wash is fine for your synthetic bag.
Dry on low heat. Try a few tennis balls or these handy Trader Joe’s wool dryer balls to refluff down bags.
Sleeping Pad
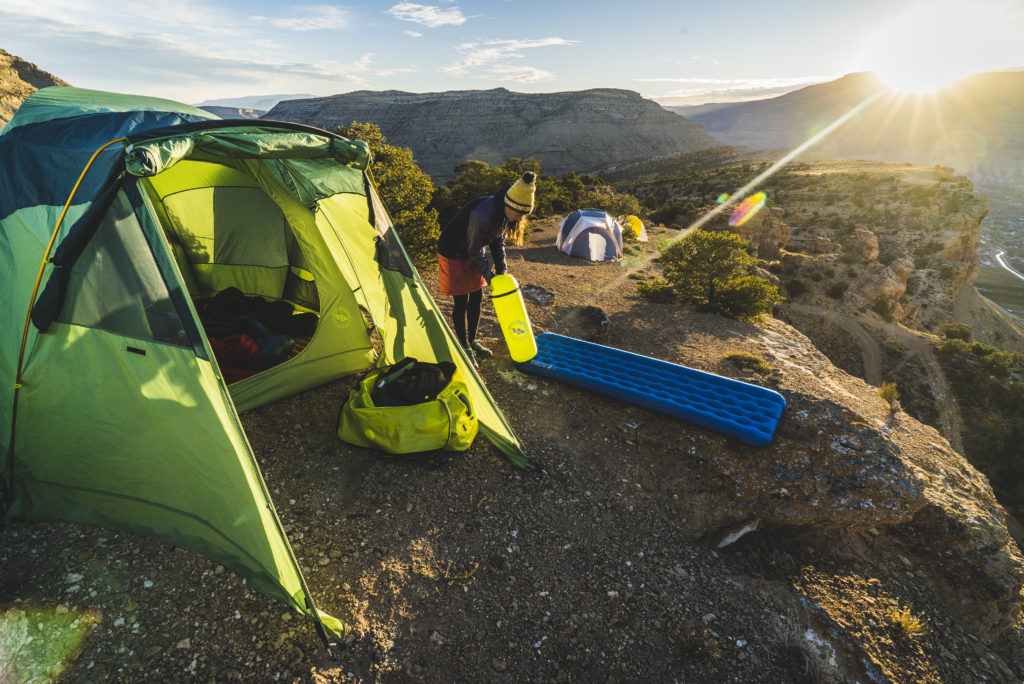
Courtesy of Big Agnes
Okay, for the prevention part. For your sleeping pad, whether it’s air or foam, the deal is that you don’t want to keep it compressed all winter because it can lose its ability to rebound. Hang it in a closet unfurled with the valve open, and store it in the same temps you’d like to be in: not too hot and moist, but not too cold or dank.
A lot of campers are going to tell you that they seldom if ever clean their pad, but if it’s got pine sap, take a cleansing rag or sponge and some rubbing alcohol to it and you’re done.
However, if it’s a bit more mucked up, like with a bunch of dirt or food stains (or ahem … campfire whiskey or beer), you’re going to want to take some soap to it. Close the valves and wipe it down with a soapy cloth, then wipe dry with a wet cloth. Let it stand against a wall or hang it from a clothes hanger and air dry it on both sides. Don’t expose it to UV rays as they will degrade it, and don’t put it in the washing machine.
Your Hiking Gear
Hiking Boots
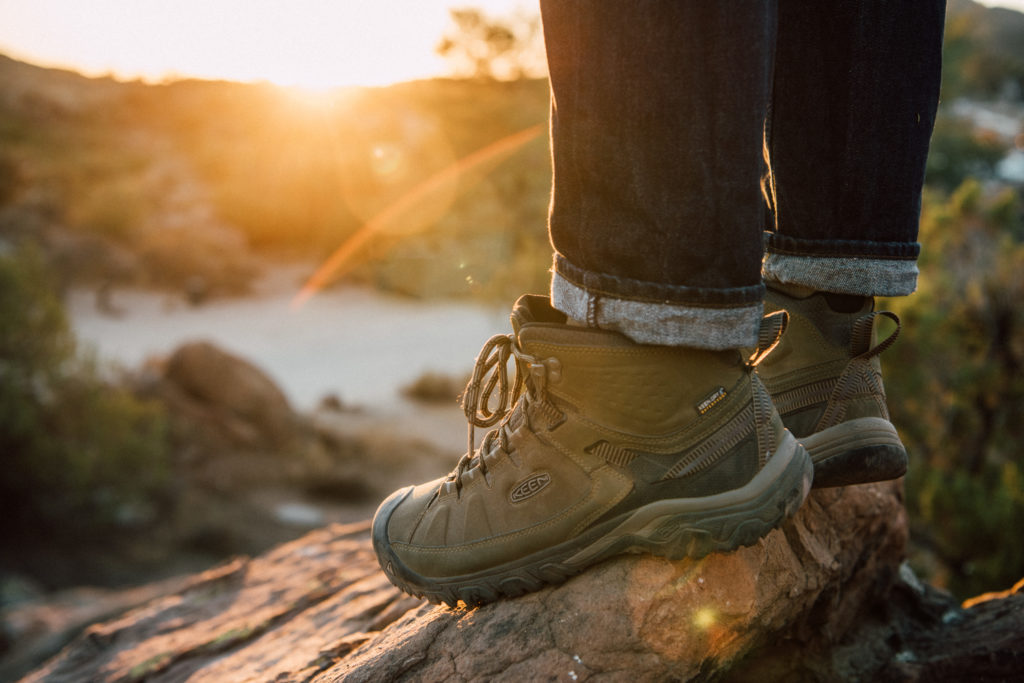
Courtesy of KEEN
Okay, so we’re going to give you the basics. First of all, you might be staring at your slightly disgusting old hiking boots that have been lovingly broken in and wondering why we would ever ask you to clean them when clearly, they are destined to be dirty and trail-ready.
Being worn down and well-loved is great, because no one wants to hike a long distance in new shoes. But being gross is not okay, and here’s why.
For starters, if grit sneaks into the fabric of your boots, it starts wearing on them. Say you leave wet mud caked on the upper; not only does the mud dry out any leather leaving it vulnerable to cracking, but the wetness encourages that funky mold that will make you never want to wear them again—or ever be able to wear them on a hiking date.
To begin, and this is pretty common-sense: spread out some newspaper or a tarp, or go outside. Remove that insole and grab a cloth for less soiled boots, or a few brushes for a more soiled pair. You can call in the heavy armory in drastic cases: a toothbrush for detail, a scouring brush, and a polishing boot brush (which you may already have for polishing your dress shoes). Shake any loose debris, pebbles, leaves or grass. Pry or knock off any larger hunks of mud or dried dirt.
Remove the shoelaces and wipe down the interior, scrubbing it with Nikwax Cleansing Gel or dish soap and water if necessary. Rinse the outside of your boots with water (preferably outdoors with a hose, or a power hose, but you can opt for putting a small washtub or basin in your bathtub or sink if you want), grab a brush and scrub ’em up with Nikwax Cleansing Gel (you can also use dish soap and water or saddle soap). Use the toothbrush to really get into small grooves, then rinse. If necessary, rinse and scrub the inside of the boots.
Stuff the boot with a bunch of cloths or socks, dish towels, even newspapers —whatever you have. The key is not retaining the shape here as hiking boots are usually pretty sturdily formed, but soaking up any moisture and helping them dry faster. Whatever you do, do not put your hiking boots in the washer.
Hiking Backpack
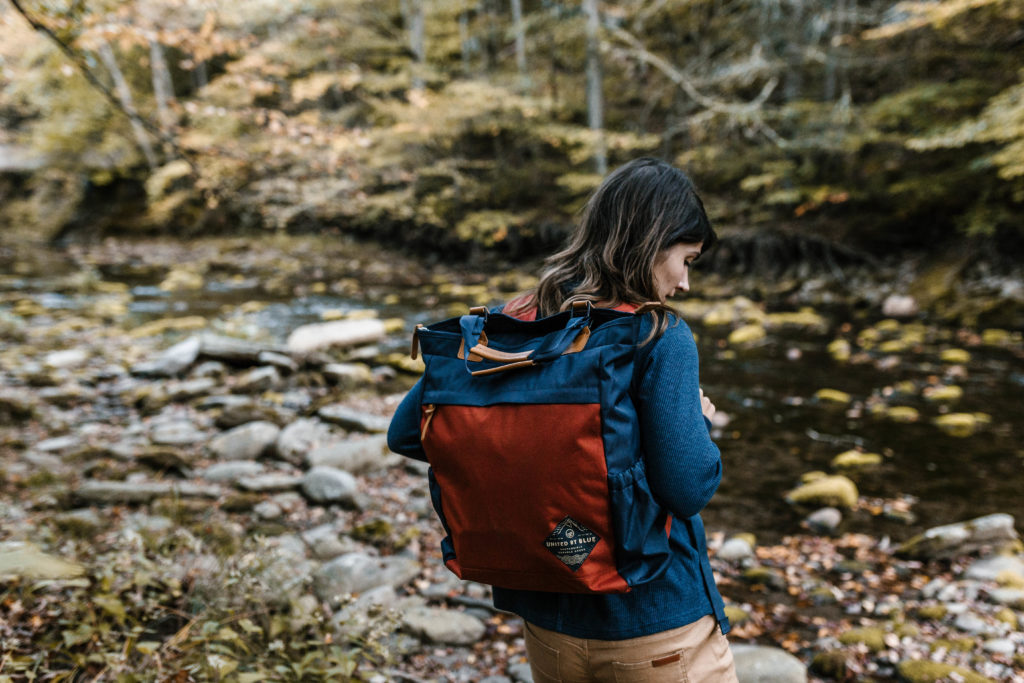
You probably don’t clean your hiking backpack that often, or even after every trip. All the more reason to do a once-over or a deep clean. For a quick clean, shake crumbs out and lightly scrub a sponge or washcloth and mild scentless soap like Dr. Bronner’s (no need for Nikwax Cleansing Gel here, but if you want to use it and don’t have Dr. Bronner’s, that’s fine too).
For a deeper clean, use the attachment on your vacuum to grab any crumbs and dirt out of the pockets and compartments; then, remove any removable parts and clean those separately. Submerge your backpack in a tub of warm soapy water (either Dr. Bronner’s or Techwash) and sponge off any stained or dirty bits. Rinse with cold water until the backpack is no longer soapy.
Your Camp Kitchen

It goes without saying that you should wash all pots, pans, dishes, cups, and silverware when you get home. But you may need to clean the exterior of your stove with hot water and dishwashing liquid and scrub the burners with a wire brush.
Coleman advises that if your camp stove has a lot of grease or dirt buildup, you can use a high-pressure hose at a carwash on it, but we advise trying a garden hose in the backyard first, or even the force of your bathtub or showerhead. Just make sure you turn it upside down to dry, then wipe as much as possible what hasn’t dried in an hour. When it’s completely dry, put it in a plastic bag and seal it off from insects completely with a twist-tie.
Keep Reading:
The Latest
