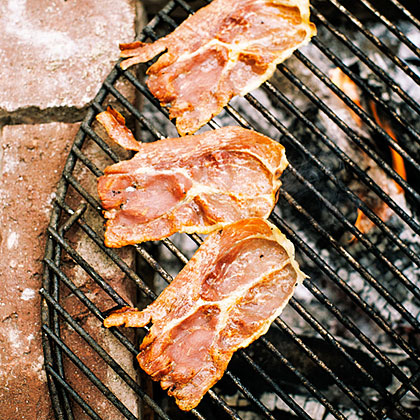
Grilled Prosciutto

How to Make It
Build a fire and let burn to ashy chunks (see "The DIY Firepit" below) or heat a gas grill to medium-high (400º).
Use tongs to oil hot cooking grate well with a wad of oiled paper towels. Arrange sliced prosciutto crosswise to rack and grill until crisp and browned on the edges, turning often. Stack on a small plate and serve.
Note: Nutritional analysis is per slice.
The DIY Firepit
"You can do anything on this. It's a little like camping in the middle of your day," says Napa Valley chef Michael Chiarello. All you need is bricks arranged to fit under your cooking grate and some sand.
Build the pit: Spread a double layer of heavy-duty foil on the ground ("not grass," warns Chiarello, since it may scorch). Make it big enough to extend a foot beyond your cooking grate in all directions. Build a brick rectangle 3 layers high, leaving a couple of bricks out of the top layer on opposite sides, to encourage airflow. (For a standard 21-in. round Weber grate, the rectangle should be 2 bricks by 3 bricks.) Fill with about an inch of sand.
Light the fire: Put several balled-up sheets of newspaper in the center and position kindling into a tipi around it; lean larger kindling and then 5 to 6 small logs (preferably oak). Light the fire. "The tipi lets every bit of flame go up past 3 or 4 logs," says Chiarello, so the fire starts fast. Once the logs have caught, add several larger logs to the perimeter. Let them burn down to ashy chunks with low flames (1 1/2 to 2 hours). Because there's less smoke and char than cooking over a flaming fire, Chiarello says, "it makes your food taste much cleaner, gives nuanced flavor, and is better for wine."
Start cooking: Keep another log burning at the back of the pit. When it's ashy chunks, rake it into the main fire to maintain heat.

