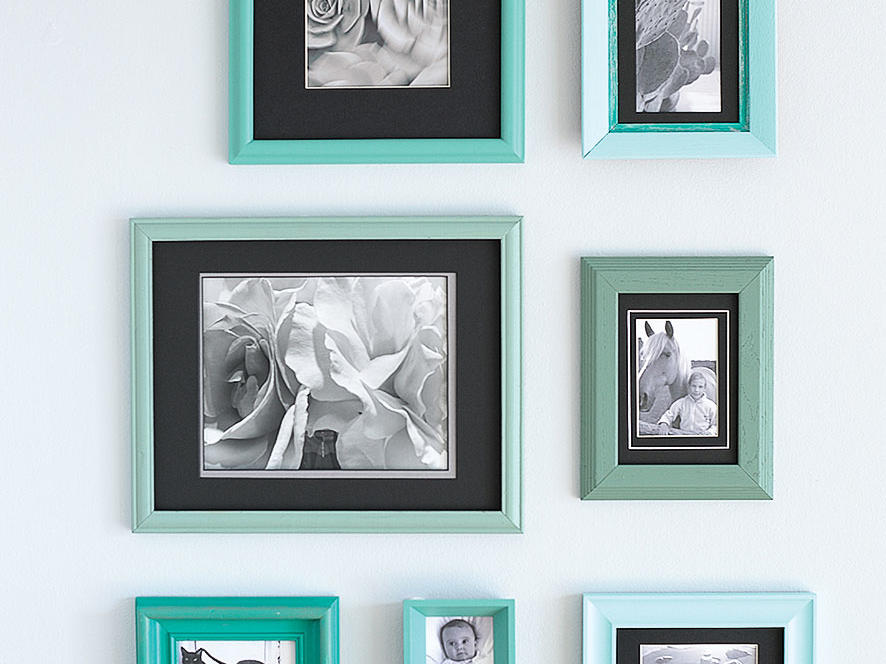
Colorfully Framed Photos for Your Bathroom Wall
Create a unique photo display by collecting some mismatched secondhand frames and painting them with a carefully orchestrated palette


Rob D. Brodman
Materials
- Tempered hardboard, 1/8 inch thick
- Clear acrylic sheet
- Primer
- Black latex paint, any sheen
- Photographs
Tools
- Tape measure
- Yardstick
- Pencil
- Jigsaw or circular saw
- Sandpaper or sanding sponge, 100 grit
- Microfiber dust cloth
- Fine-tip marker
- Utility knife
- Drop cloth or newspaper
- Paint tray
- Roller, 9 inch or mini
- Double-sided tape, any width
- Black plastic tape, 1½ inch
- Double-coated mounting tape, any width
Steps
- Design the layout. Choose which of your photographs to pair with each frame, determine their arrangement on the wall, and select which color to use for each.
- Prep. Remove the mat and glass from each frame. Lightly sand any sheen off the wood with the sandpaper or sanding sponge. Remove any residue with the dust cloth.
- Paint. Position the drop cloth or newspaper, and arrange the wood scraps to support the frames. With the brush, paint the frames different colors, taking care to avoid leaving drips in the corners.
- Mat. When the frames are dry, take them to a framing shop and buy precut mats for them, all in the same color. Or reuse any mats of the same color that you already have. If you have an odd-size frame and can’t find a precut mat that fits, choose a photograph that doesn’t need a mat for that frame.
- Mount. Assemble the mats and photographs in the frames. Using the hammer, tap the picture hangers or nails into the wall and then hang the framed pictures. (If the walls are plaster, drill small holes for the hangers or nails before you tap them in so you don’t crack the plaster.)
