
Ikebana, Explained: A Simple Guide to the Japanese Art of Flower Arranging
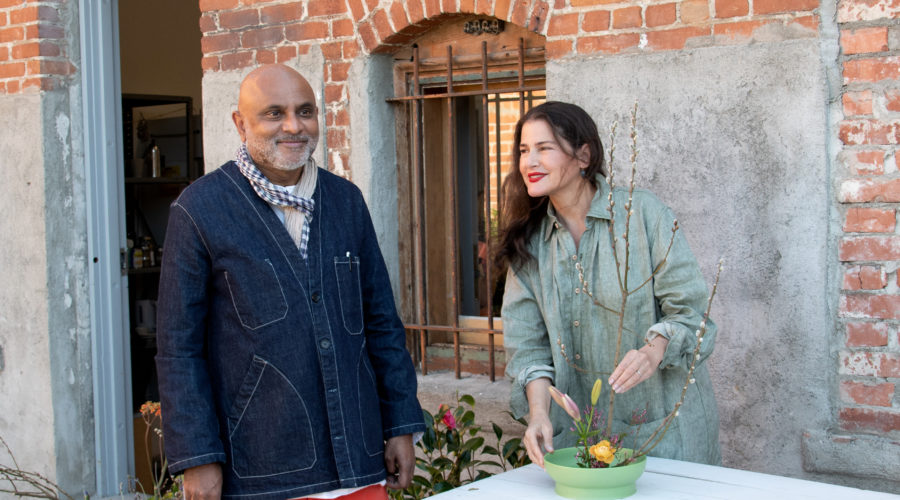
Floral Animalia, a garden wear company designed by Rozae Nichols, hosts a how-to workshop in the urban garden behind its Los Angeles design studio.

Heidi Cabrera
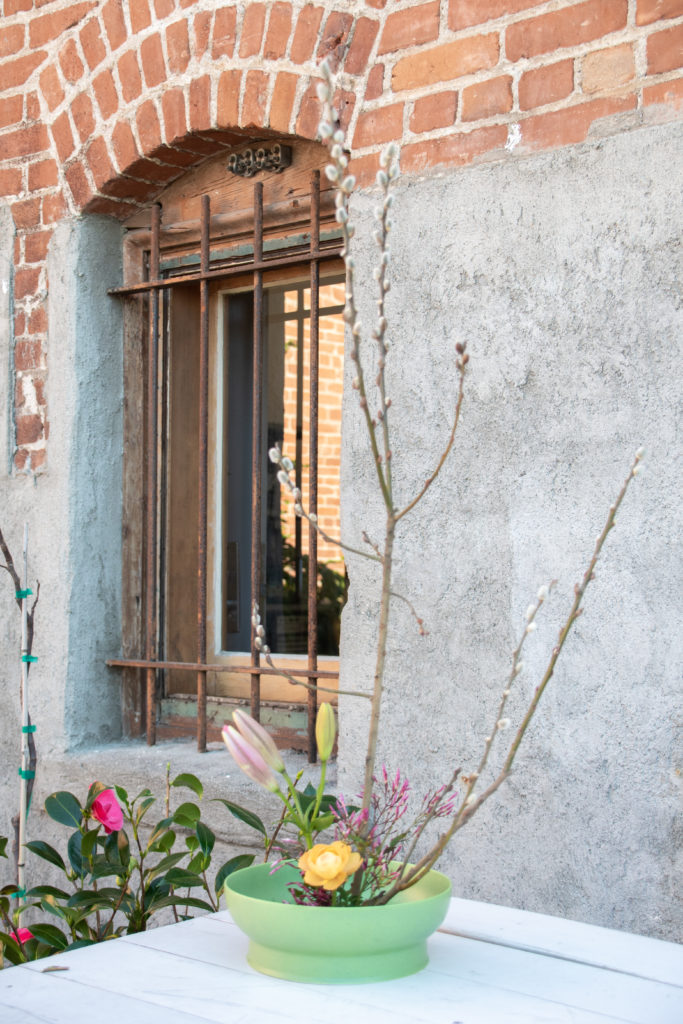
A minimalist flower arrangement created with simple principles of Ikebana.
We only recommend things we love. If you buy something through our site, we might earn a commission.
Heidi Cabrera
At first glance, the Japanese art of Ikebana—minimalist, precise, and adhering to a strict set of rules—is as intimidating as flower arranging can get. Its roots can be traced to around 1400 A.D., when the intricate offerings were placed on Buddhist altars. The placement and selection of seasonal flowers and branches is meant to express emotions through plants. Like anything with such a rich cultural history, you could spend a lifetime mastering the art, or an afternoon learning how to make a decent replica.
Heidi Cabrera
Designer Rozae Nichols, who has created a line of beautifully made garden accessories and apparel called Flora Animalia, enlisted Ravi GuneWardena, a partner at the architecture firm Escher GuneWardena and a long-time student of Ikebana. GuneWardena shared steps to creating a simple arrangement at a workshop held at the garden behind Nichols’ Los Angeles design studio.
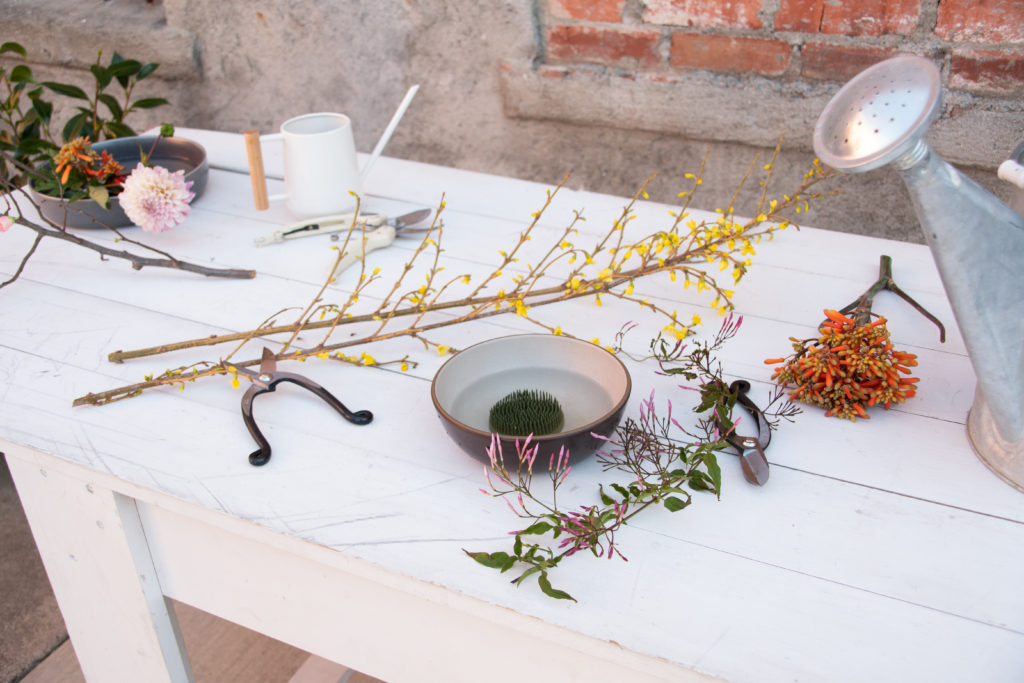
Gather the Right Tools and Plant Material
Heidi Cabrera
More Videos From Sunset
A spiked flower “frog” strong and heavy enough to support the stems is essential. So are a pair of clippers and a shallow vessel that’s just deep enough hold water but not so high that it blocks the arrangement. A pitcher of water and a bowl, for submerging and clipping stems, helps too.
The Basics of Ikebana
The easiest part of creating Ikebana may be gathering flowers and branches. You can clip something from the garden or grab a TJ’s bouquet. Just make sure you have three distinct components to form the arrangement: The Soe, the Shin, and the Hikae. The tallest element, the Shin, should be sturdy enough to stand upright at the center of the arrangement. This is typically a branch or a flower with a woody stem.

Heidi Cabrera
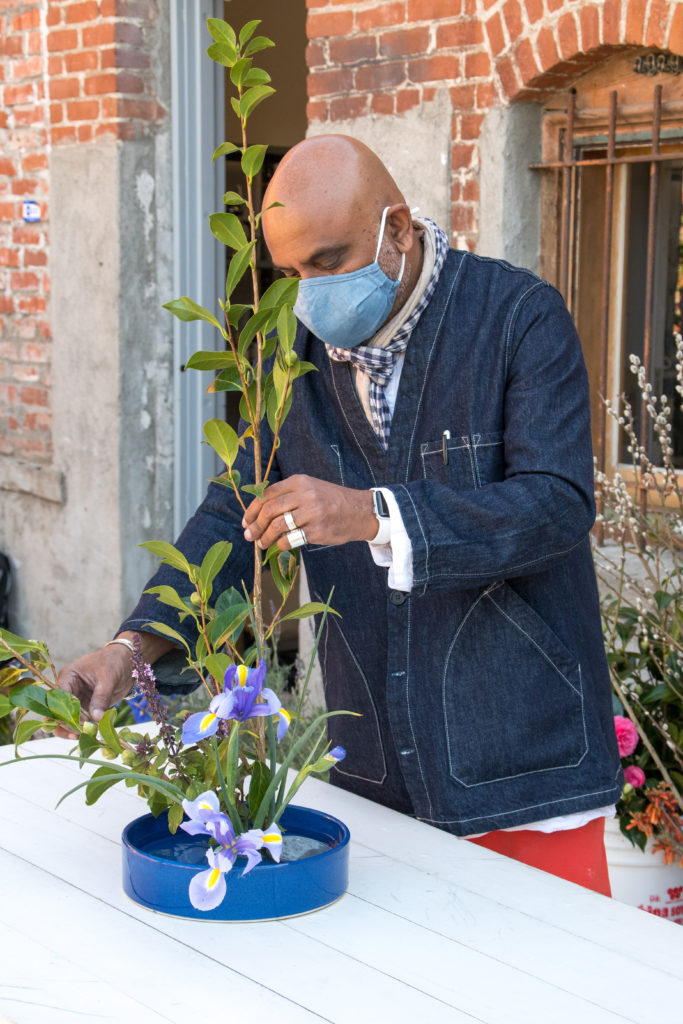
Get Started
Place the frog inside the vessel and fill it with water until it reaches the middle of the tines.
Choose your tallest element, the Shin, and clip the end of its stem while it’s submerged in a bowl of water. The Shin should be roughly twice the size of the vessel, meaning double the diameter. If your vessel is 10 inches in diameter, then cut the Shin so it’s about 20 inches. Place the Shin in the center of the frog, and secure it in the sharp tines.

Heidi Cabrera
The Soe, the second element, should be 2/3 the height of the Shin. And the Hikae, the third element, is half the size of the Soe. To simplify: If the Shin is 21 inches, the Soe should be 14 inches and the Hikae 7 inches. You can also place some smaller stems and flowers around the base as filler, used sparingly.
The Shin should be inserted straight, then shifted 15 degrees to the left. Next is the Soe, which is inserted straight and adjusted so it tilts 45 degrees to the left. Last up is the Hikae, which goes rogue. It’s inserted on the front right of the frog and tilted 75 degrees to the right.

Heidi Cabrera
It takes some patience (it can feel like Jenga with flowers if the balance isn’t right). But practice—roughly 600 years of it—makes perfect. In the meantime, good enough can be beautiful, too.
Heidi Cabrera
