Raise your DIY game by making your own cabinets—this tool makes it possible.
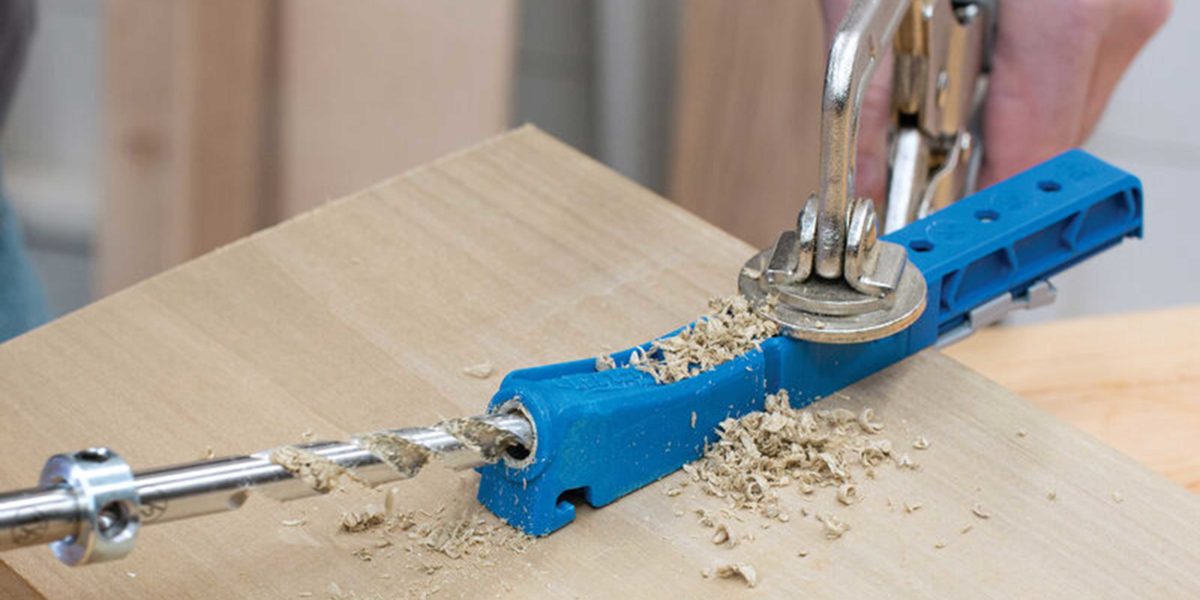
Kreg Pocket Hole Jig
Courtesy of Kreg

There’s a lot to be said for measuring twice and cutting once. But the old carpentry adage about wisdom is only half the battle. Without the right tools, you might as well be stuck in the 1700s. 

Sure, it’s possible to create nail-less masterpieces using Japanese joinery techniques, or to craft custom carpentry installs using just a saw and some three-penny nails. But here’s a major game-changer that will boost your results almost as soon as you bring it home.


Called the Kreg Jig, and ranging from a $15 mini kit up to massive industrial applications, the so-called “pocket hole” system allows you to bring two boards together at a 90 degree angle without any external fastening system.

The jig is pretty simple to figure out: You drill an angled hole in one board that points toward the end of the board. Insert the screw and it pops out said end, and into the board it’s joining—helping to pull the two pieces together from the inside.

You might recognize this method from IKEA cabinets, where you pass a specialized screw through to a receiving end that you turn clockwise to lock in place. That works, about as long as your particleboard stays in good shape.

But real carpenters use so-called “dimensional lumber,” or actual planks of real wood, not glued together bits, or more often they use plywood. You’ve seen countless kitchen setups with poured concrete floors and simplified plywood cabinetry before, but even the more conventional French countryside look likely uses plywood for the boxes behind it all, and often pocket holes to pull it all together. (Usually the fancy door front will be made from conventional lumber, but the interiors? Plywood and pocket holes.)

And that’s where we think the DIY homeowner can really dig in: Making custom cabinetry to fit any enclosure. Along with a hand saw or a battery powered saw and an all-purpose drill, this jig can unlock new realms of capability and have you building shelves and storage systems that will last for decades when cheap metal Amazon units rust and bend and IKEA options melt into bits.

A Couple of Things to Keep in Mind

  1. Create your cut list. Fun projects use up all, or most, of a sheet of plywood, which measures 4 feet by 8 feet. We made a shelving unit by asking the lumberyard to slice the sheet in three equal strips, and then by slicing one of those strips into 16-inch squares. Going to the yard with a clear cut list will save everyone time and frustration. But remember: The blade will take away an eighth of an inch per cut, so try to account for that in your measurements. A 16-inch square box will come out more like 15 7/8th inches.
  2. Sand rough edges. Plywood is glued-together sheets of thin wood running at various angles. But if you’re cutting against the grain on your top sheet, even with a new blade, it can create rough edges that you’ll need to sand off with a medium grit sandpaper.
  3. Add finish. Painting or staining or oiling are all options that will keep dirt and grime from building up. A clear satin finish will give you durability without an overly slick look.
Kreg Pocket-Hole Jig, from $15