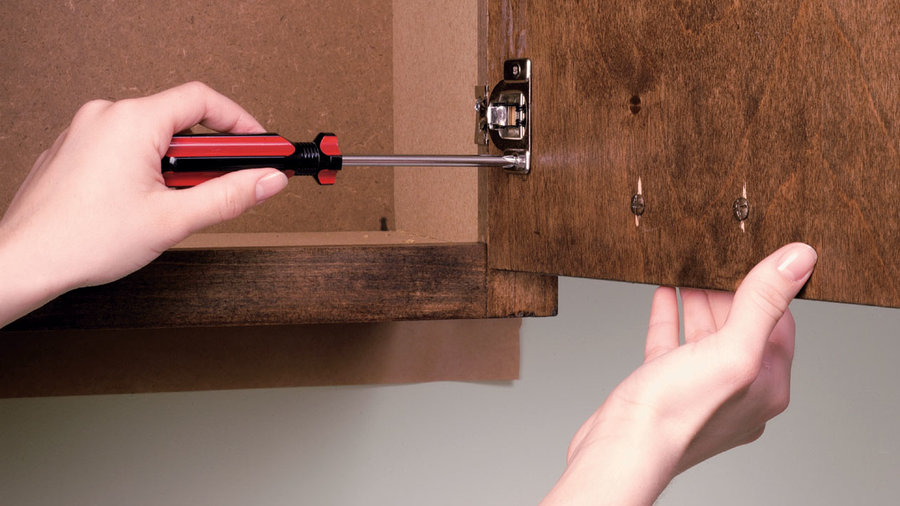
Cabinet makeover, step 1: Remove hardware
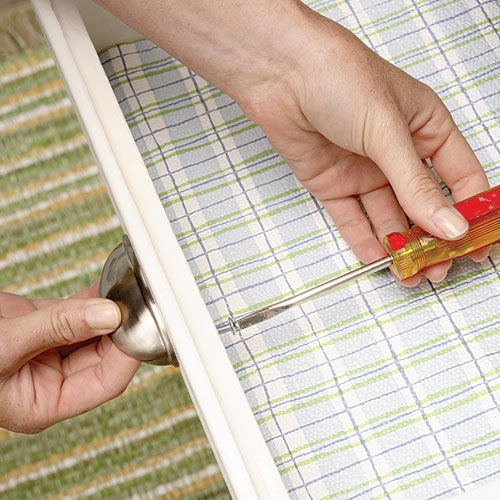
The first step in refinishing your kitchen cabinets is to remove all the hardware with a screwdriver or drill.
If you’re reusing the hinges or pulls, store them in ziplock bags with a note indicating where each set came from.
Set up some tables or sawhorses in an open area with good ventilation and bring all your doors and drawers to that location. This will be painting headquarters for the doors and drawers.
Step 2: Clean and dry your cabinets
Wearing rubber gloves, thoroughly clean the cabinet surfaces you’re going to paint with a trisodium phosphate solution (follow the instructions on the box), which will slightly etch the surface.
Rinse thoroughly with a wrung-out sponge and allow the surfaces to dry. If you’re going to install new hardware that won’t use the same screw holes, fill in the old holes with wood putty.
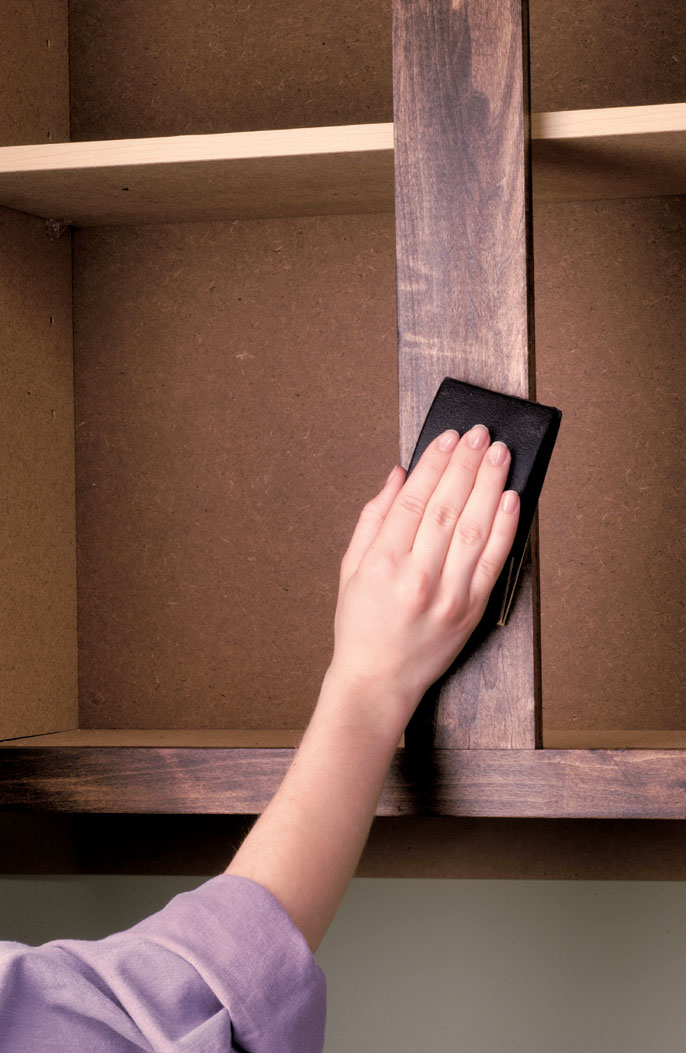
Once dry, lightly sand the surfaces with 150-grit sandpaper and then vacuum to remove the dust. Wipe any residual dust off with a slightly damp cloth.
Then mask the surfaces around the cabinet boxes with painter’s tape and cover the floors and counters with drop cloths.
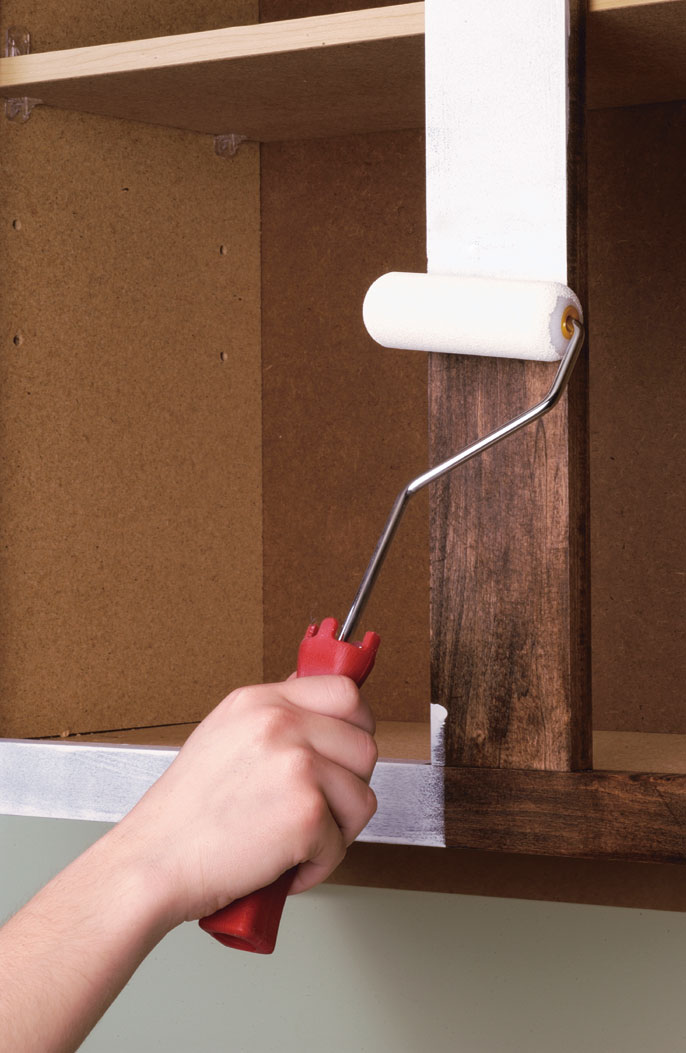
Step 3: Prime your cabinets
Start with a coat of primer/sealer. If you’re painting the cabinets a color other than white, ask the paint store to tint the primer to match your top coat.
That way, you might be able to get by with just one finish coat. Otherwise you’ll most likely need two coats of paint over the white primer.
You can choose to paint only the faces of the cabinet boxes, as shown, or the interior as well. Use a brush if you paint the interiors.
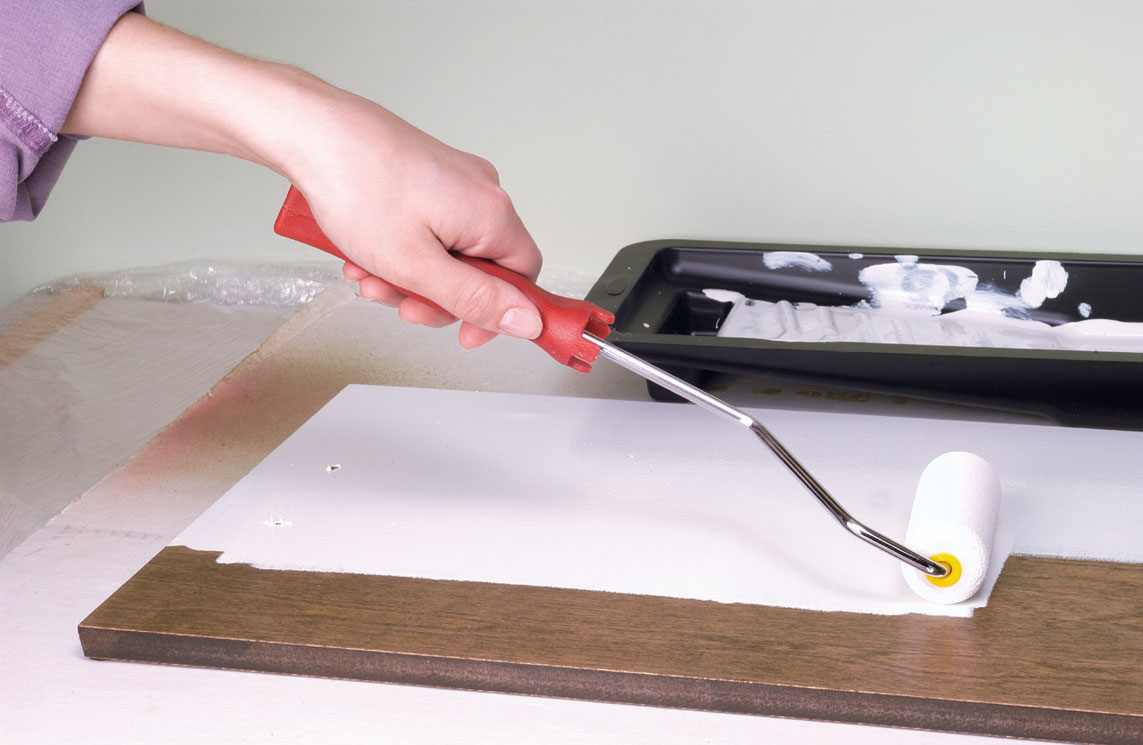
Step 4: Paint and let dry
Paint one side of the doors and the edges. While that side dries, paint the drawer faces; then paint the other side of the doors and edges.
Allow the surfaces to dry overnight, and then lightly sand everything you painted with 220-grit wet/dry sandpaper. Vacuum the surfaces, wipe them with a cloth, and apply a second coat.
Step 5: Replace Hinges and Pulls
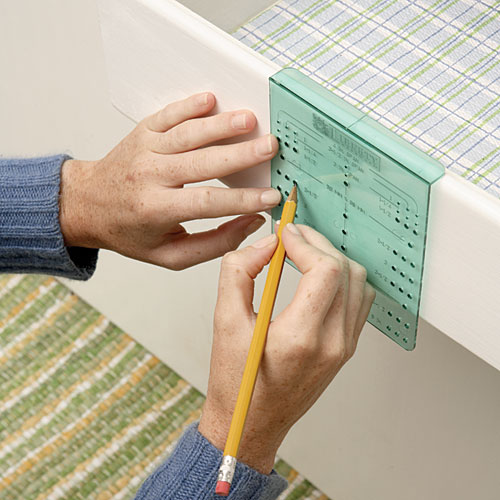
What you’ll need: Tape measure, pencil, drawer pull jig (if needed), drill and bits to fit cabinet hardware, screwdriver, new pulls and hinges.
If you’re using existing holes, this won’t take more than an hour. Creating consistently spaced holes adds to the time and labor.
A jig is a template that ensures the holes you are drilling are consistent and evenly placed. Measure to find the center of the drawer face, and put the center of the jig on that mark. Then use a pencil to mark the spot(s) the jig indicates for your style of pull. It will have holes for pulls of various widths.
Step 6: Drill pilot holes
Step 3: Install hinges
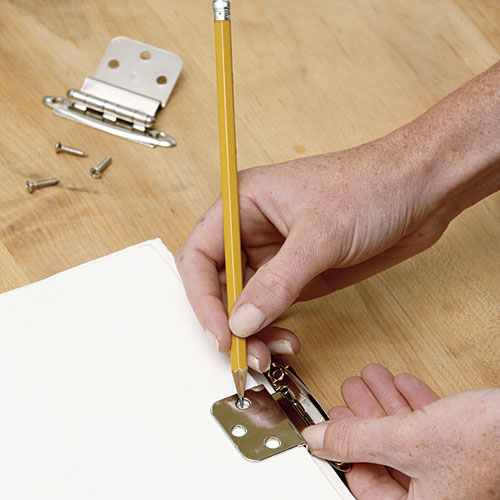
Put the hinge in place on the back of the door, and mark the holes with a pencil. Do the same for the bottom hinge.
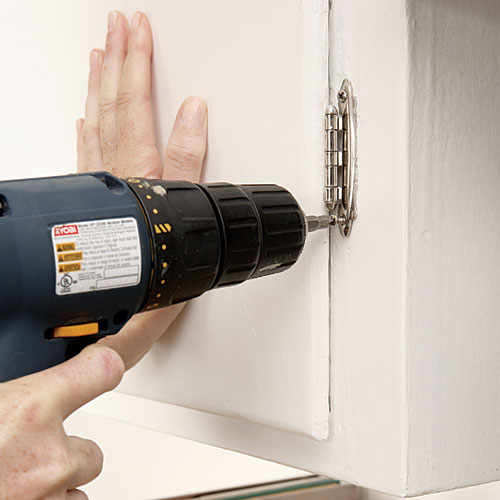
Step 8: Reattach Cabinet Doors
Then line up the hinges over the cabinet frame, mark the holes with the pencil, and drill pilot holes. Screw in the top hinge first and then the bottom one.


%2C%20which%20will%20slightly%20etch%20the%20surface.%3C%2Fp%3E%0D%0A%0D%0A%3Cp%3E%C2%A0%3C%2Fp%3E%0D%0A%0D%0A%3Cp%3ERinse%20thoroughly%20with%20a%20wrung-out%20sponge%20and%20allow%20the%20surfaces%20to%20dry.%20If%20you%E2%80%99re%20going%20to%20install%20new%20hardware%20that%20won%E2%80%99t%20use%20the%20same%20screw%20holes%2C%20fill%20in%20the%20old%20holes%20with%20wood%20putty.%3C%2Fp%3E%0D%0A%0D%0A%3Cp%3EOnce%20dry%2C%20lightly%20sand%20the%20surfaces%20with%20150-grit%20sandpaper%20and%20then%20vacuum%20to%20remove%20the%20dust.%20Wipe%20any%20residual%20dust%20off%20with%20a%20slightly%20damp%20cloth.%3C%2Fp%3E%0D%0A%0D%0A%3Cp%3EThen%20mask%20the%20surfaces%20around%20the%20cabinet%20boxes%20with%20painter%E2%80%99s%20tape%20and%20cover%20the%20floors%20and%20counters%20with%20drop%20cloths.%3C%2Fp%3E)
%2C%20drill%20and%20bits%20to%20fit%20cabinet%20hardware%2C%20screwdriver%2C%20new%20pulls%20and%20hinges.%3C%2Fp%3E%3Cp%3EIf%20you%E2%80%99re%20using%20existing%20holes%2C%20this%20won%E2%80%99t%20take%20more%20than%20an%20hour.%20Creating%20consistently%20spaced%20holes%20adds%20to%20the%20time%20and%20labor.%3C%2Fp%3E%3Cp%3EA%20jig%20is%20a%20template%20that%20ensures%20the%20holes%20you%20are%20drilling%20are%20consistent%20and%20evenly%20placed.%20Measure%20to%20find%20the%20center%20of%20the%20drawer%20face%2C%20and%20put%20the%20center%20of%20the%20jig%20on%20that%20mark.%20Then%20use%20a%20pencil%20to%20mark%20the%20spot(s)%20the%20jig%20indicates%20for%20your%20style%20of%20pull.%20It%20will%20have%20holes%20for%20pulls%20of%20various%20widths.)
.%3C%2Fp%3E%3Cp%3EPut%20the%20hinge%20in%20place%20on%20the%20back%20of%20the%20door%2C%20and%20mark%20the%20holes%20with%20a%20pencil.%20Do%20the%20same%20for%20the%20bottom%20hinge.)