How to Make a Chandelier Out of Branches

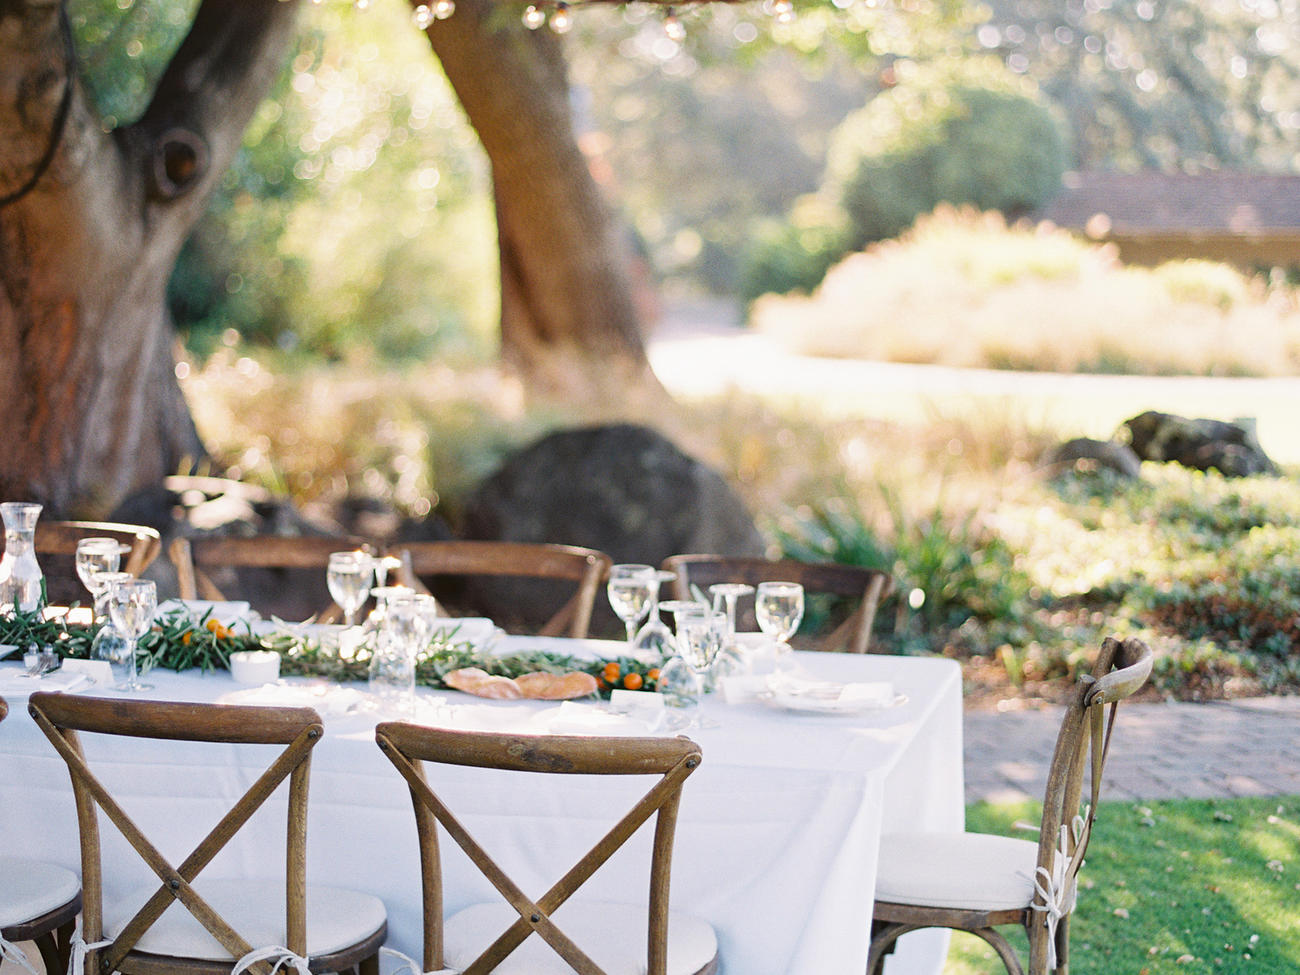
Lighting can make all the difference in setting the mood for outdoor gatherings. This simple chandelier is a cinch to make—all you’ll need are branches from your garden and about $25 dollars in supplies from the hardware store.
Supplies:
Cut branches in winter before the trees have leafed out as you would when pruning. Select branches that are at least 4 feet long and about the thickness of your thumb. This way they’ll be nice and flexible.
Once you have a decent pile of branches, begin forming the hoops by curving the branches into a circle and securing with wrapping wire. Depending on how large you’d like your chandelier (ours have a 5 ft diameter), you may need to wire multiple branches together to make the initial circle. You’re basically making a giant, free-form wreath.
Keep curving branches around the hoops, wrapping around the initial circle of branches so that the tension helps round out the circle. If you’re making multiple chandeliers (we made 5), stack them up to make sure the size is roughly consistent.
Next, fasten three pieces of rope (each about 3 feet long) around each hoop, loosely knotting one end of each piece of rope around the branch hoop and bringing the other end of the rope to the center of the hoop. Hold the three ends of rope at the center together and lift the hoop up off the ground. If it’s hanging unevenly, scooch the ropes around the outside until they are evenly spaced, then tighten the knots. Tie the 3 loose ends of rope into a knot in the center of the hoop and attached the spool of rope to the center knot.
Finally, wrap the hoops with globe lights. We used cable ties to help keep the wires fastened securely to the branches and, later, to secure an extension cord to the center rope. Once you’re done wrapping the lights, toss the spool of rope over the branch you’d like to hang the chandelier from and pull the hoop up into place. Cut the rope, tie it off, and you’re done!
One note: The globe lights we used are not waterproof (although they were fine hit with the sprinklers a couple of times over the summer). If you’d like to hang the chandelier up year-round, I’d invest in more heavy-duty cafe lights that could withstand the rain. Otherwise, plan on bringing them indoors at the end of the season as we did.