Easy Floating Shelves
Get the look of built-in floating shelves, with less cost and more flexibility
Thomas J. Story
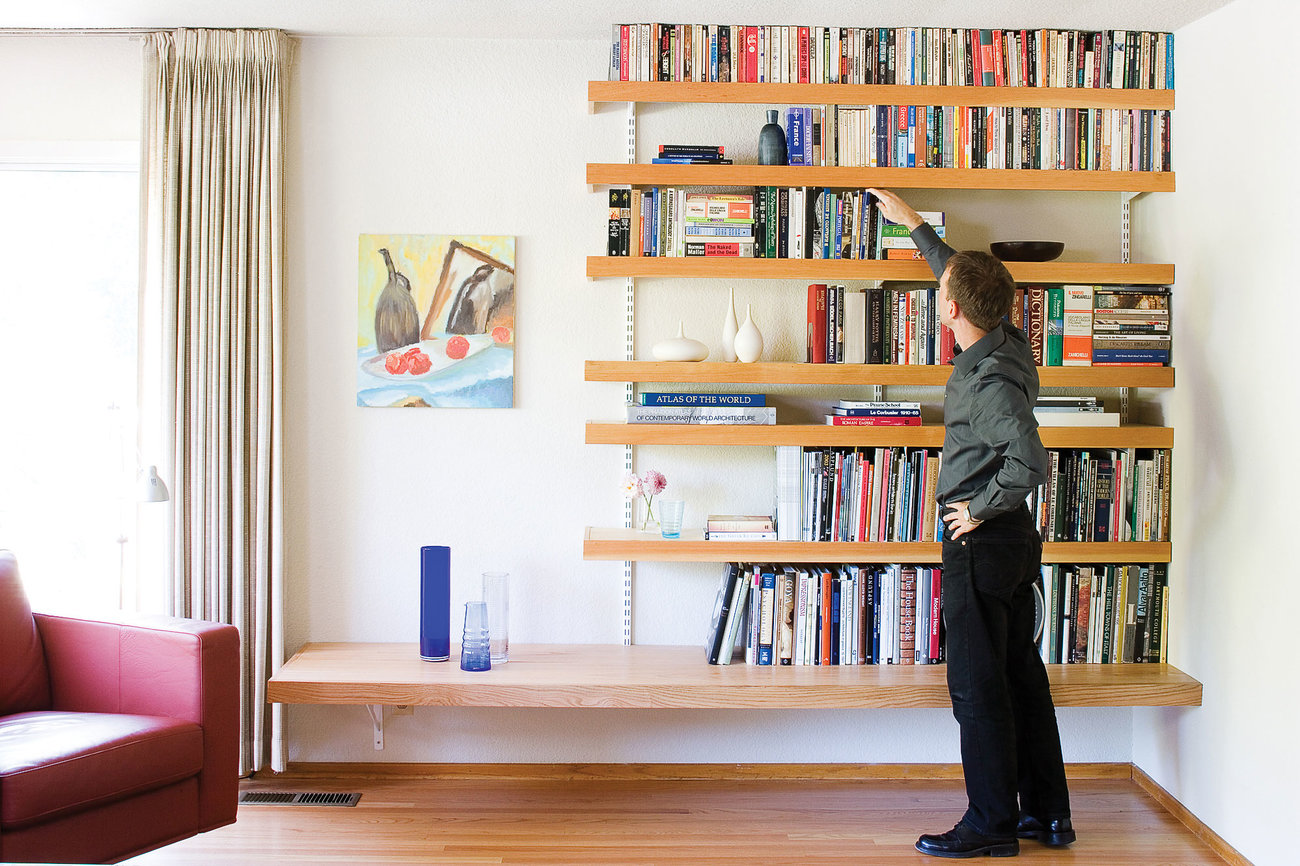
Wood trim hides the brackets supporting the shelves, creating an elegant appearance reinforced by the larger display shelf at the bottom.
Architect Stephen Atkinson wanted a built-in bookcase in his condo living room, but he couldn’t afford the $3,000 price tag. He favored floating shelves–which cantilever from the wall, have no side panels, and don’t touch the floor–in order to keep some breathing room at the bottom and not lose square footage in an already small space. But to build what he wanted would have meant tearing the wall apart. Instead, he purchased a metal wall shelving system (available at home improvement stores) and devised a clever way to dress it up.
Typical store-bought floating shelves are suitable only for displaying objects, as they have a weight capacity of 10 or so pounds. “You can’t put much of anything on there,” says Atkinson. “And books are phenomenally heavy.” That’s why he created what might be called built-in floaters of pine and red oak, with seriously strong support (see “Steps to a Better Shelf,” below) and the ability to be repositioned if he wishes. The total cost of the project was $500.
DESIGN: Stephen Atkinson, Studio Atkinson, Palo Alto, CA ( www.studioatkinson.com or 650/321-6118)
Steps to a better shelf
Stephen Atkinson used one pine 1-by-12 trimmed with 1-by-3s for each of the 6-foot-long upper shelves, and two red oak 1-by-12s trimmed with 1-by-3s for the 9-foot lower display shelf.
- The three standards (slotted vertical pieces) and the brackets of the metal wall shelving system were painted white to match the wall.
- Using a stud finder to locate studs-in this case, 16 inches apart-Atkinson placed the standards 32 inches apart.
- Atkinson attached the trim to each upper shelf with 2-inch finishing nails and wood glue, forming a simple butt joint.
- To join the 9-foot boards into a double-width bottom shelf, four 2-by-2s were mounted underneath with wood screws.
- When fully assembled, each shelf was screwed to a bracket at both the front and back of the bracket for added stability. To support the bottom shelf, a right-angle wall bracket was screwed into both a stud and the shelf.