
Flowering bird feeders
With ground covers on the roof, these easy-to-make feeders shelter the seed naturally
Saxon Holt
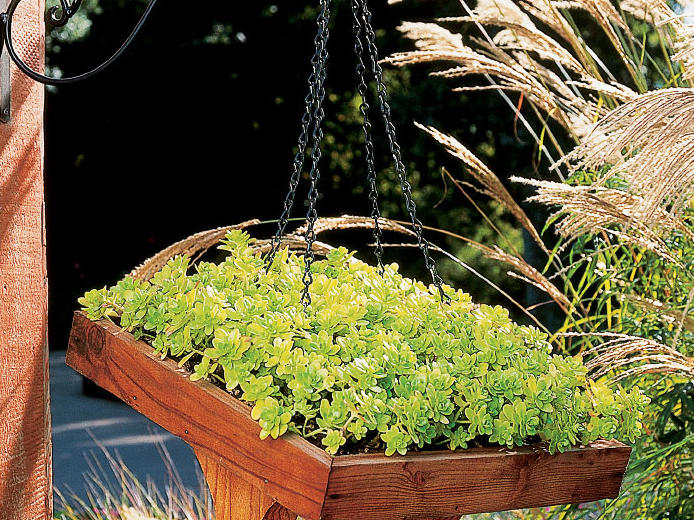
One mud flat equals one bird-feeder roof: That’s the formula for the canopy on these easy-to-construct bird feeders. Sturdy ground covers, such as moss, ivy, thyme, and small sedums, will grow in the shallow depth of the feeders’ roofs; the plants are available at most nurseries in 16-inch-square mud flats. Make the roof like a tall-sided tray, slip the plant mass out of the flat, and press it in like a green carpet. For extra texture and color, add small flowering plants from sixpacks. Then just remember to water the roof whenever you add birdseed.
The three feeders are built with rough-sawn redwood, but you could substitute cedar, fir, or scraps of weathered wood from your woodpile. You’ll need a circular saw or handsaw with a miter box, saber saw, protractor, drill, hammer, and combination square.
Making the bird feeders
TIME: 4 to 5 hours per feeder
COST: About $20
Use a protractor to draw the angled tops and the mitered midpoint of the folded and half-and-half roofs. Miter or butt the 1-by-2 base-trim pieces and 1-by-3 roof-trim pieces; countersink exterior finish nails to secure them. Attach the roof and base to the supports with 2-inch deck screws.
Three parts add up to one
Each feeder is made up of three parts: mud-flat roof, support, and base. There are three roof styles: One is a shed roof that is the same dimension as the mud flat, another cuts the mud flat in half and butts the two halves together along their short ends, and the third folds the mud flat in half along a center ridge.
The bottom of each roof starts as a 1-by-12, and the sides are made from sections of a 1-by-3. Each roof includes a 1/8-inch-wide drainage slot along the lowest edges, created by making the side pieces 1/8 inch longer than the bottom. The inside surface of each roof tray is lined with plastic so water won’t leak onto the birdseed.
Although the roofs lend a houselike appearance to the feeders, their Y-shaped supports look more like the trunks of sturdy trees. The height of the supports varies with the design of each feeder to allow room for birds of different sizes. Cut from lengths of 2-by-8 lumber with the saber saw, the slightly free-form supports consist of a broad base, a trunk, and Y-shaped branches whose ends follow the pitch of the roof and are attached to it with 2-inch deck screws. Built like a shallow tray with 1-by-2 sides, the seed-containing base is narrower and shorter than the roof so that it will be fully sheltered.
Hang the feeders from chains or mount them to posts. To hang, thread eye screws into holes drilled through the feeder tops and into the tops of the Y-shaped supports, then add lengths of chain and S-hooks. To mount to a post, attach steel L-brackets to the post and to the underside of the base with wood screws. Feeders may also be stained.
Directions:
1. Build the 14-inch-square base from a 12-inch-long piece of 1-by-12 edged with 1-by-2s.
2. Draw and cut two support pieces from 9-inch pieces of 2-by-8.
3. Build the 18-inch-square roof. You’ll need two 16-inch-long pieces of 1-by-12, ripped to 8 inches wide, for the roof bottom, and 1-by-3s for the sides. Leave a 1/8-inch gap for the drainage slot at the lower edges.
4. Center and attach supports along opposite sides of base. Position the roof so the drain slot clears the base.
More: How to garden anywhere