DIY a Dried Herb Wreath Now to Lock in Flavor for Months
Ditch store-bought versions and try these at-home hacks for drying your own herbs.

One of my favorite ingredients to use in the kitchen is fresh herbs. Each week I go to the grocery store and stock up on Italian parsley, oregano, chives, dill, and whichever other herb bundles call out to me (or are required for recipes that I’ve saved to make during the week). I add chopped parsley to almost every pasta dish I make, which means that one is the first to run out.
At the end of the week, however, I’m usually left with a handful of fresh herbs that are wilting or browned. Instead of letting these bundles go to waste, I started drying them myself at home for an easy (and aromatic) way to stop throwing them in the compost bin. While the idea of drying herbs yourself may seem foreign, it’s actually very easy and there are multiple ways to do it.
I first started drying herbs after a wreath-making class with Baylor Chapman, author of a handful of plant books including her most recent publication Home Sweet Houseplant, where she walked me through the steps to make my own wreath for year-round decor (not just the holidays), I got to thinking: Why can’t I make one with edible plants and herbs that I can pick off as they dry on display?
When I told Chapman about my idea, she walked me through the steps of making a mini wreath and shared some sturdy herb suggestions, which lead me to create a step-by-step on how to make a simple herb wreath for at-home drying. The wreath sits above my kitchen sink on a nail for prime sun during the day, and I pluck herbs off as needed while cooking.
While this approach to drying herbs is somewhat unique, it got me in the habit of using my almost-wilted herbs in a new way as opposed to considering them wasted. As I practiced other ways of drying herbs that didn’t involve a wreath mold, I found that dried herbs can add to the decor of my home as well as add flavor to any dish that crosses my counter.
Once fully dried, I pull them off and break them up in a jar, creating my own dried herb blend for future use, and I re-adhere new herbs to the wreath mold to start again.
If you are ready to opt for drying your own herbs on a mold, in bundles that can hang in a window, or on a sheet low and slow in the oven for a quicker result, we’ve broken down how to DIY each technique using the most common herbs found in a home cook’s kitchen.
Before Drying, Choose Herbs Wisely
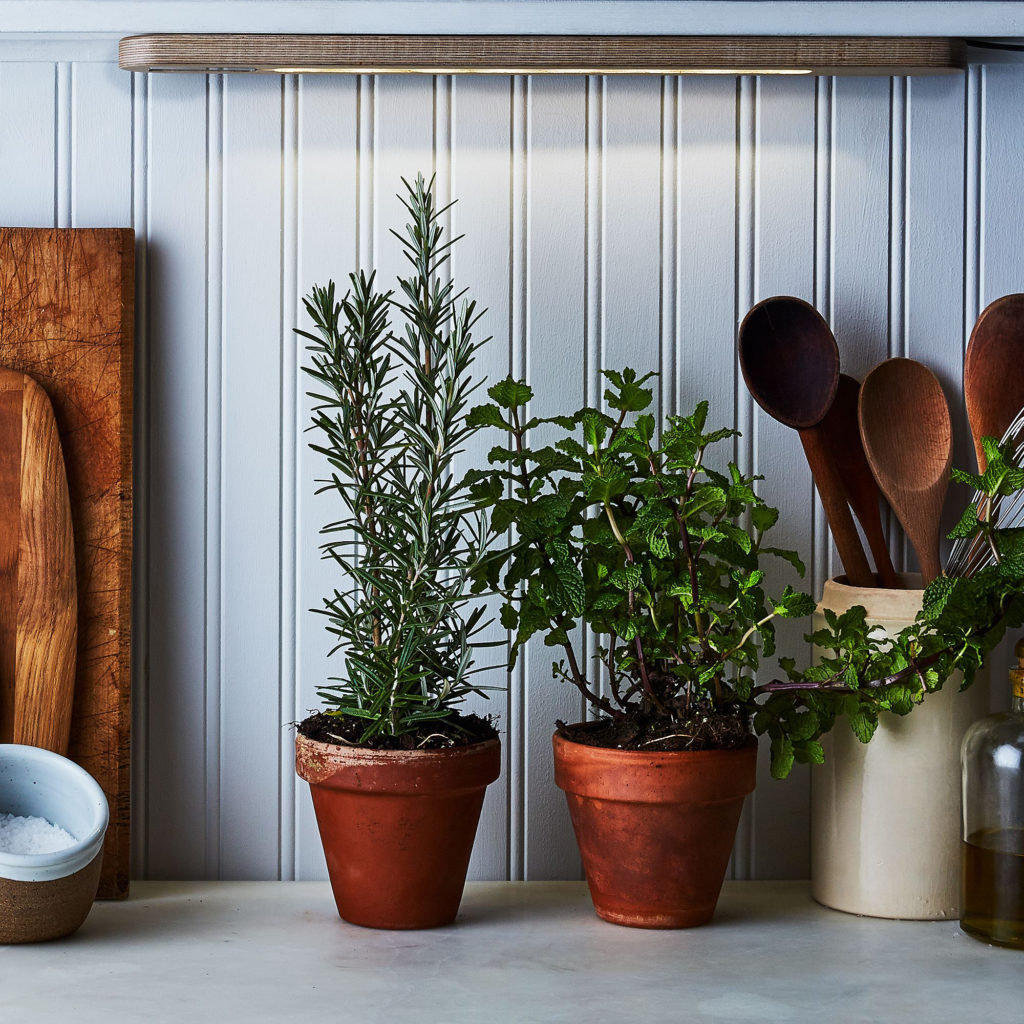
Courtesy of Food52
Before you decide the best method for drying, it’s important to note which herbs to start with. Sturdier herbs with larger leaves like mint, basil, oregano, and marjoram are good contenders for air drying in either bundles or applying to a wreath mold.

Sunset’s Garden Issue 2022
More from this issue:
- Need Help Taking Care of Your Air Plants? We’ve Got Just the Guy
- Stroll Through Lotusland, the Fantastical Botanic Garden of Your Dreams
- What Happens When the West Coast Barbecue King Sets out to Conquer Fried Chicken?
- Add Some Color to Your Brunch with Edible Flowers
When dried, they tend to hold shape and can easily be removed from the stems. These herbs also have slightly less moisture content to start with, so they will dry in sunlight faster than others without molding or browning.
Softer and more robust herbs, like sage, rosemary, thyme, cilantro, and chives are better dried in the oven. Since this method is faster, it will help to keep the flavors of the herbs strong and aromatic.
Similarly, you may want to choose herbs with flavors that blend well. If you want to make a homemade Italian seasoning, try drying basil, marjoram, and oregano in a bundle together. After drying you can grind the mixture or crumble it between your fingers, mix them together in a jar, and add to any pasta sauce or salad dressing.
For an herb blend that would make a nice base for a rub, try drying sage, rosemary, thyme, and chives together in the oven, creating a deep herb flavor for the outside of ribs or chicken. Once you’ve decided the herbs you’ll be using, it’s time to dry.
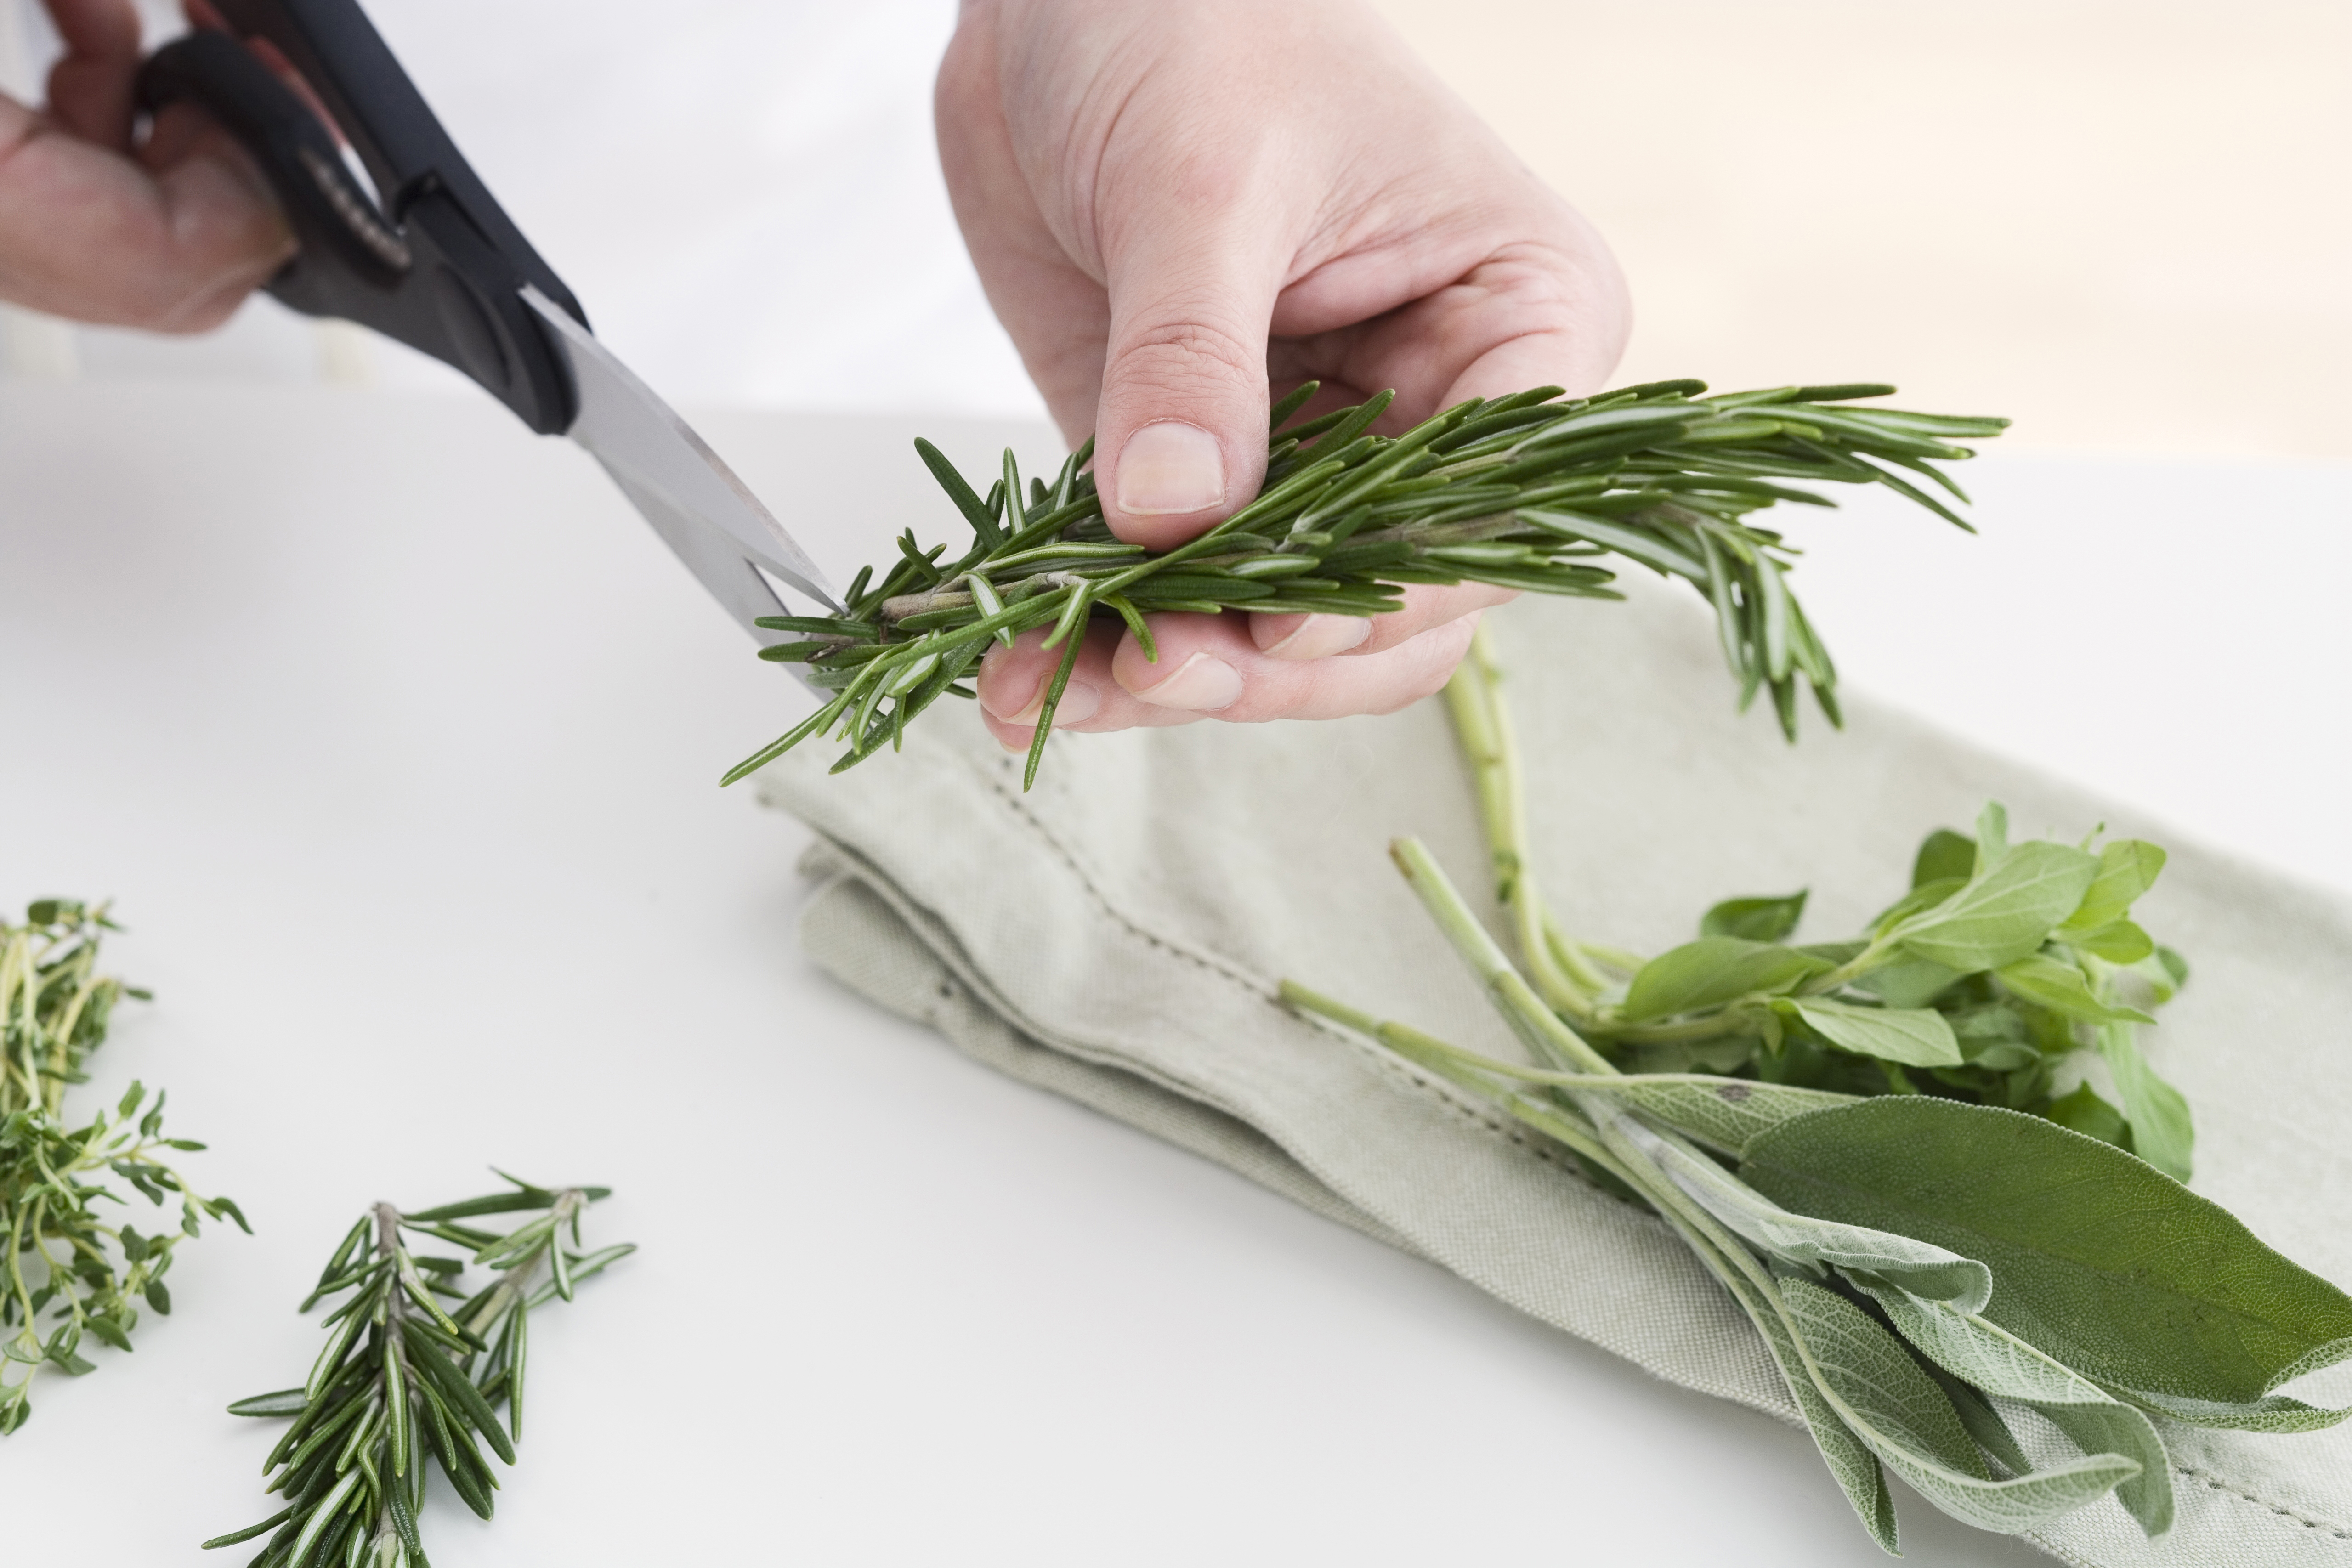
Drying Method No. 1: How to Make Herb Wreaths and Bundles

E. Spencer Toy
Herb wreaths and bundles come together rather easily and also make for great gifts to give other foodies. Since they can be preserved for longer than individual leaves laid out on a pan in the oven by hanging them in windows, outside, or around the house, they can be gifted shortly after being made or once partially or fully dried.
To make an herb bundle for drying, you’ll want to first pick up some twine and sheers. With all of your fresh herbs laid out in front of you, grab one sprig at a time to create a well-mixed bundle, holding it together in one hand as you add sprigs. Once the bundle is about the thickness of a banana, grab a piece of twine and tie it around the top of the sprigs in a tight knot. To further conceal the sprigs, I like to wrap twine around the entire bundle, creating a cap with the twine. Repeat with remaining herbs to create as many bundles as you wish to make.
In order for the herbs to dry, you’ll want to hang them. To create a loop at the top of the bundle, tie another piece of twine, about 6 inches long, around the sprig and tie a small loop at the end of the twine. You can hang the bundles from a nail using this loop, ideally in a place that will get sunshine during the day and minimal moisture, like above the oven or in a windowsill.
After a week or so, you’ll want to try crumbling a few of the herbs in your fingers to see if they are fully dry. If they are, you can pull from the hanging bundles to add to dishes or remove them from the bundle, crush them, and place them in a container to use later. If they’re not fully ready, check them every one to two days until they are crisp and crush easily between your fingers.
For a full step-by-step on how to make an herb wreath, click here.
Drying Method No. 2: How to Dry Herbs in the Oven
TetraImages / Getty Images
If you want to dry a lot of herbs at once, make a specific blend, or just don’t want them hanging in your window, take the oven-drying approach. To start, you’ll want to remove the herbs you’re using from their stems so you are only left with the leaves. Once the stems are removed, line a baking sheet with parchment paper and arrange the leaves on the sheet, making sure they aren’t touching each other.
If possible, preheat an oven to 100℉; if your oven doesn’t go that low, heat it to 250℉ an hour before using and turn it off before you arrange the leaves on the lined sheet, leaving the light on (this will keep the oven at a low enough temperature while the leaves dry).
Once the oven is at the correct temperature, add the herbs and bake for 30 minutes, giving them a light shake halfway through to loosen any moisture. Turn the leaves over and bake for 20 more minutes. A leaf should break with ease when bent; if it doesn’t, bake for 10 more minutes. Once they’re crisp, turn the oven off and leave the sheet in until cool enough to handle. Crush the herbs once cooled to create blends or enjoy them on their own and store in an airtight container.
Odds are, after you dry herbs yourself one time, you’ll be sure to taste the difference they bring to any dish or dip. You might soon make a habit of drying any herbs that are near browning in the fridge! Plus, your friends and family could have fresh dried herbs hanging in their homes or in their pantries, thanks to you.
Search All of Sunset’s Recipes
Keep Reading:
The Latest

Meet the Cocktail Pool, a Small-but-Mighty Addition to Your Exterior
