These Plantable Cards Are Sweet and Easy to DIY
Made with seed-embedded paper, these pretty homemade cards are the perfect Valentine for everyone you know and keep the love growing.

Styling and Photo by Heather Arndt Anderson
“We only recommend things we love. If you buy something through our site, we might earn a commission.”
These DIY plantable cards, made with seed-embedded paper, are fun and easy to put together (with or without kids/a glass of wine/both). They also make nice cards for springtime, Easter, or May Day. It all comes together with just a few basic supplies, readily available from craft stores online, and best of all, this fun project is good for the birds and the bees.
Assemble Your Supplies
- Flower seed-embedded paper — preferably in a couple colors
- Paper punches for confetti
- Vegetable stamps
- Potato (for cutting into a stamp!)
- Liquid watercolor or tempera paint
- Glassine envelopes
- Washi tape or stickers
- White gel pens for addressing envelopes
If you’re a crafty person, you might already have some of these things just laying around in a drawer somewhere (I’m not a terribly crafty person, but I did have the vegetable stamps from a bento phase I went through a couple of years ago). You don’t *have* to buy a bunch of gear just for this project, but I generally find that these types of tools gain a pretty affordable cost-per-wear since I have a young kid who needs to complete various creative projects on a semi-regular basis.
Punch Out the Confetti

Photo by Heather Arndt Anderson
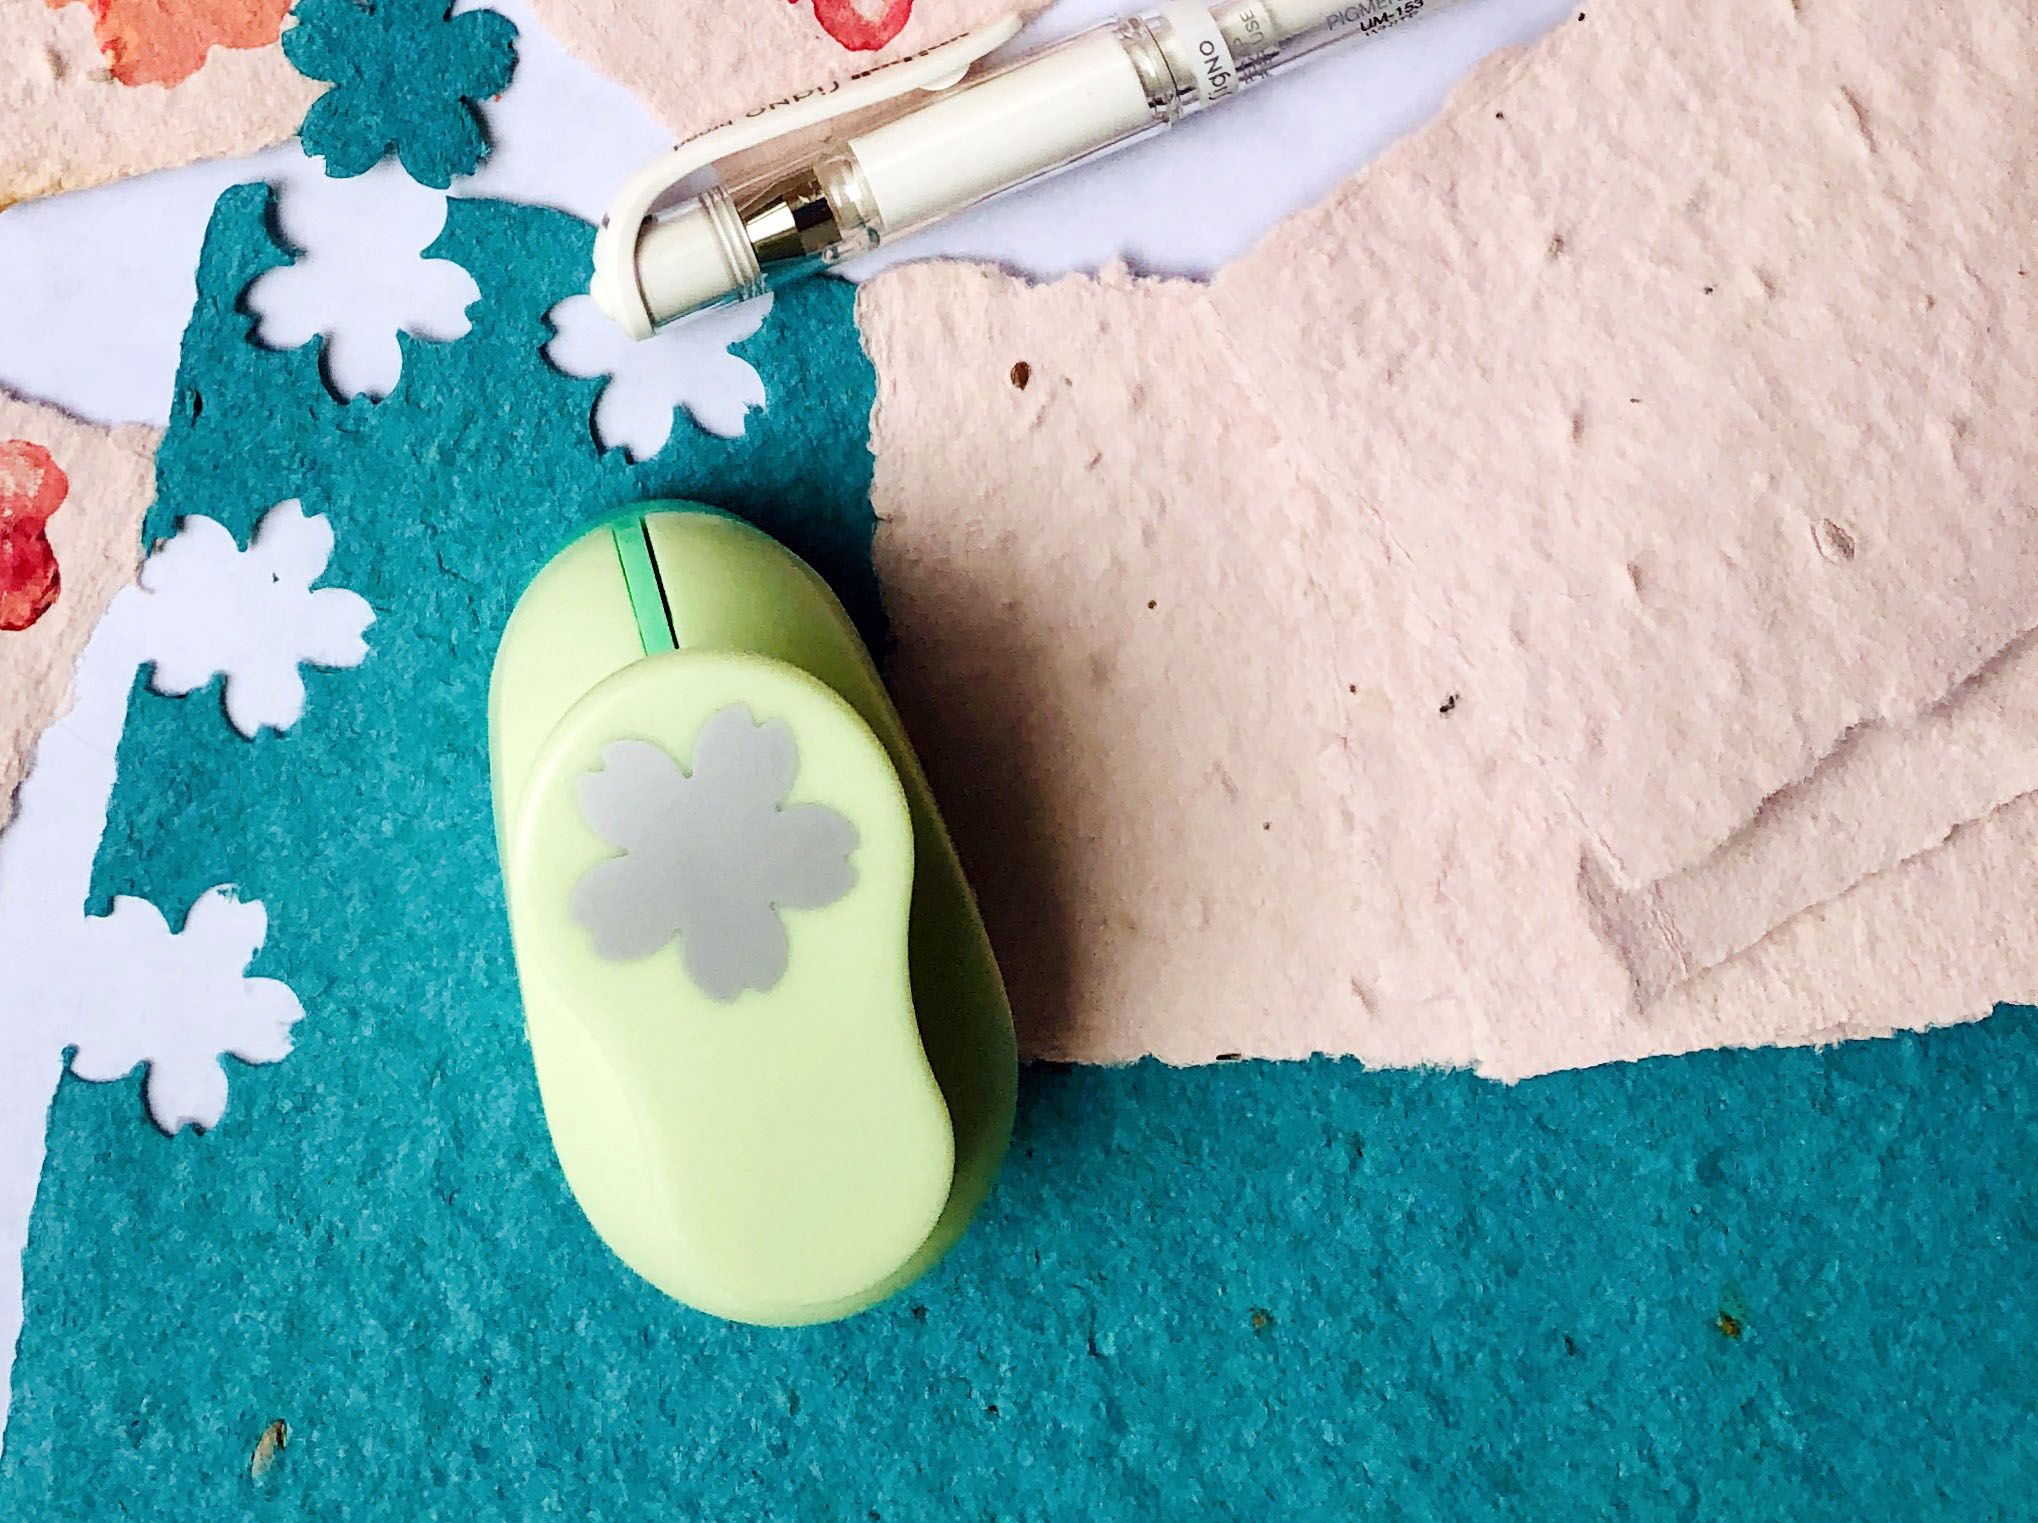
This step is definitely Value Added, but it can be a fun way to pad out the envelopes. “Confetti is pretty, but the mom in me resists the mess,” says Sunset associate digital director Jessica Mordo. The great thing about this confetti, though, is that it’s HUGE—nearly an inch across—and the scraps can all be sprinkled right onto any patch of dirt in your garden, where they could sprout some bonus flowers. “That is a huge plus,” Jessica admits. Feel free to use hearts, flowers, stars, or just plain circles to make plantable confetti to go with your DIY plantable cards—just make sure to do this over a rimmed baking sheet or wide bowl.
If you can’t afford or don’t want to buy a couple of packs of paper with different colors, just buy a light-colored paper and brush watercolors on a couple of sheets set aside for making the confetti.
Prepare the Cards
Let’s math this out real quick: 8.5″x11″ seed-embedded paper usually comes 10 sheets to a pack. Grade school classrooms typically run about 22 to 30 kids per class these days (depending on what state you live in), so if you divide each sheet into ninths (cutting or tearing 3 x 3), three or four sheets of paper should do the trick for making standard Valentine-sized cards for the whole class.
Fold each sheet into thirds lengthwise, tear or cut (tearing on a straightedge will look better with this rough paper), and then repeat tearing/cutting into thirds with each of the strips of paper. This doesn’t have to be perfect! Remember, these are DIY plantable cards, not rocket science! Rustic is good here.
Make the Stamps—and Then Stamp!

If you already have a cute stamp you’d like to use, more power to you! But for the cheapskates crafty folk among us, there’s no better stamp than a potato. If you have good knife skills, you can carve the stamp yourself, or you can use a vegetable stamp (like they use in Japan for making cute bento and such). Cut a small potato in half, then firmly press the stamp into the cut side, going down about 1/4″. Then take a paring knife and carefully trim away the outside edge of the potato so that the stamped portion sticks out.
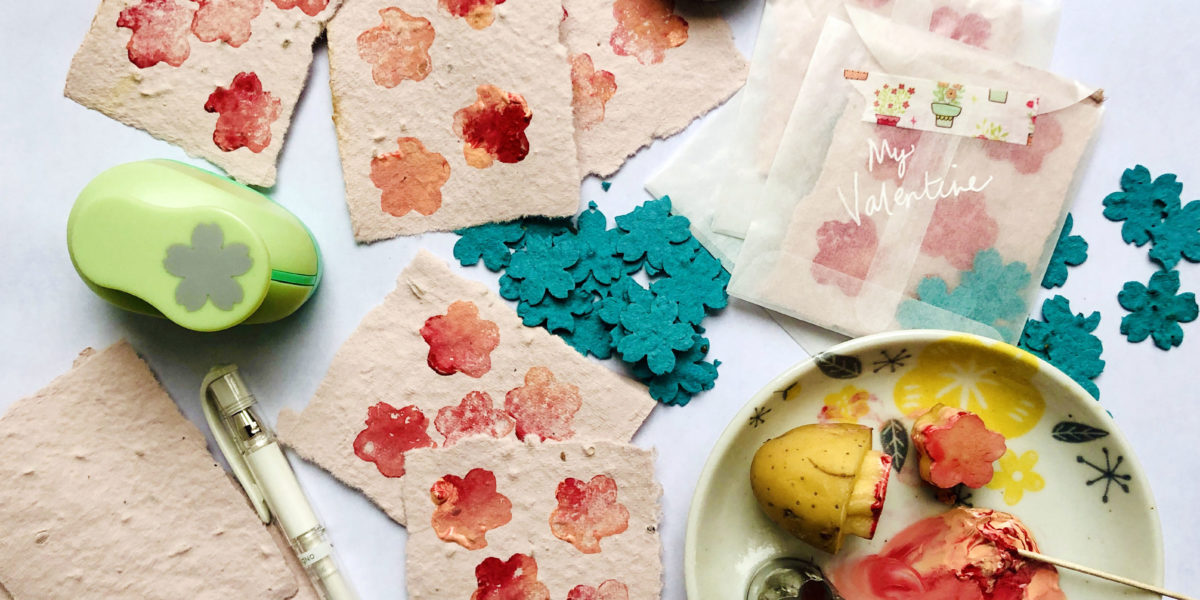
Once your stamps are ready, just smudge some blobs of paint on a plate and dip away! For a pretty swirled effect, use a couple of different colors together, as pictured below. Then stamp away!

Signed, Sealed, Delivered, They’re Yours
After the paint has dried, write a little message on the back, slide the cards into the semi-transparent glassine paper envelopes with a good pinch of flower-paper confetti, and then seal them shut with a little strip of decorative washi tape or a sticker. Write the recipient’s name on the front of the envelope with the opaque gel pen, and hand-deliver.

That’s it! If you want a step-by-step tutorial on making seed paper completely from scratch (for truly DIY plantable cards), check out our video on making seed-paper hearts. Otherwise, keep it breezy and reuse this project idea come spring!
