
Create a Leafy Eye-Catcher for a Garden Wall
Get our diagrams and step-by-step photos for this great wall trellis

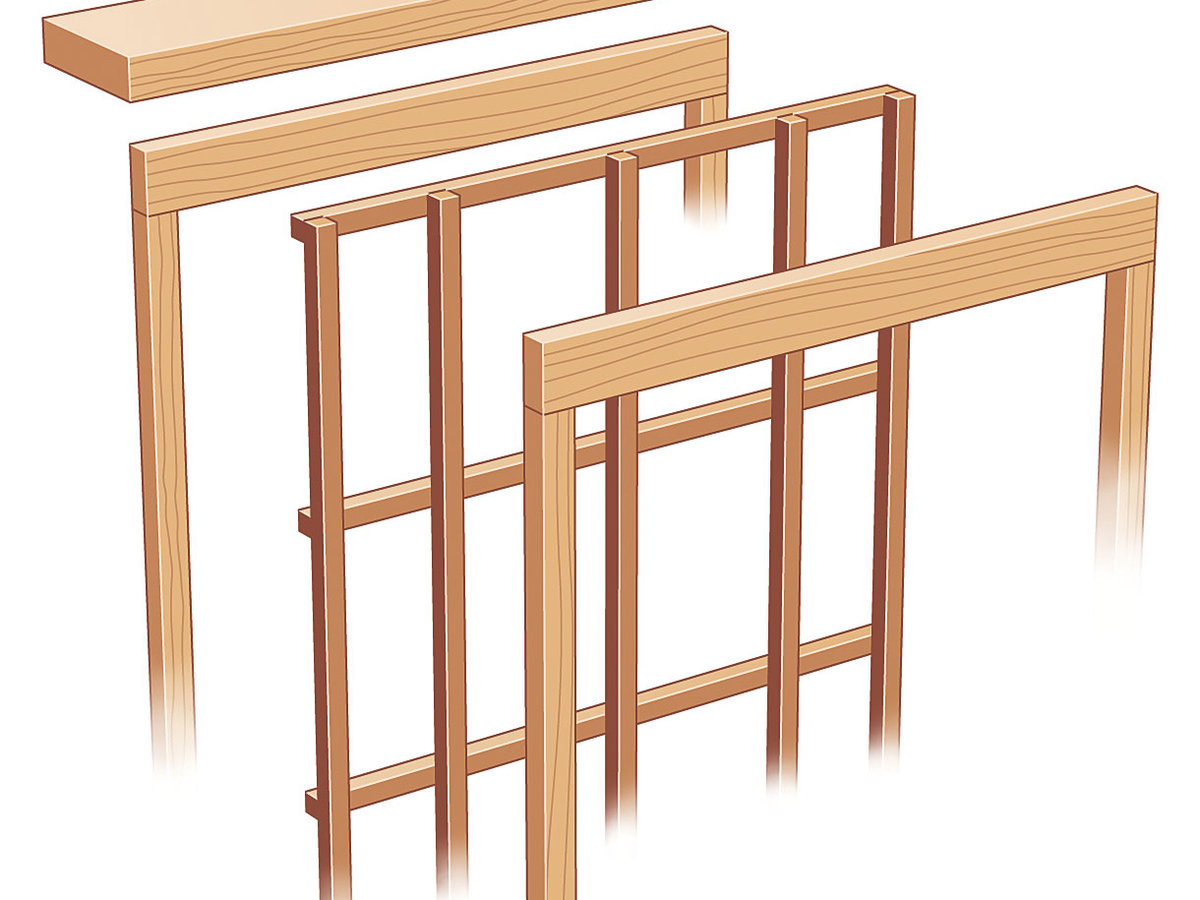
Wall-attached trellis panel
This tall, wall-attached trellis panel is elegantly simple. You may want to build several and space them one panel’s width apart,.
For a trellis like this, the exact dimensions of the pieces can make a big difference in the overall appearance. We show lattice that is ¾ inch thick and 11⁄8 inches wide. You could use standard 1 by 2s, which are ¾ inch by 1½ inches, but the result would be surprisingly clunky-looking. Rip-cutting the slats will take only a half hour or so.
Get our step-by-step instructions
The grid shown here is 68 by 22 inches, but you could widen or lengthen it. If you widen it by more than 8 inches, add another vertical lattice piece. Here we use cedar, but you could use treated lumber, which can be stained or painted.
Getting ready
There are no half-lap joints, so this project can be built quickly. Start by rip-cutting the lattice slats and frame pieces. Because the trellis will be attached to the house, the frame need not be very strong and can be assembled with a single screw at each joint.
Since both vertical and horizontal pieces run around the perimeter of the lattice, the frame can be simply attached.
The grid shown here is 68 by 22 inches, but you could widen or lengthen it. If you widen it by more than 8 inches, add another vertical lattice piece. Here we use cedar, but you could use treated lumber, which can be stained or painted.
Materials list
- Two 6′ 1 x 6s for lattice slats and cap rail
- Two 8′ 5⁄4 x 6s for the frame
- 4″ decking or stainless-steel screws; 1¼” and 2½” galvanized nails or staples
- ½” copper or plastic pipe and long decking or masonry screws
