
Build a Wood-Framed Bathroom Mirror Shelf
This simple shelf lets you cross two things off your bathroom wish list: a convenient mirror over the sink and a handy area for toiletries
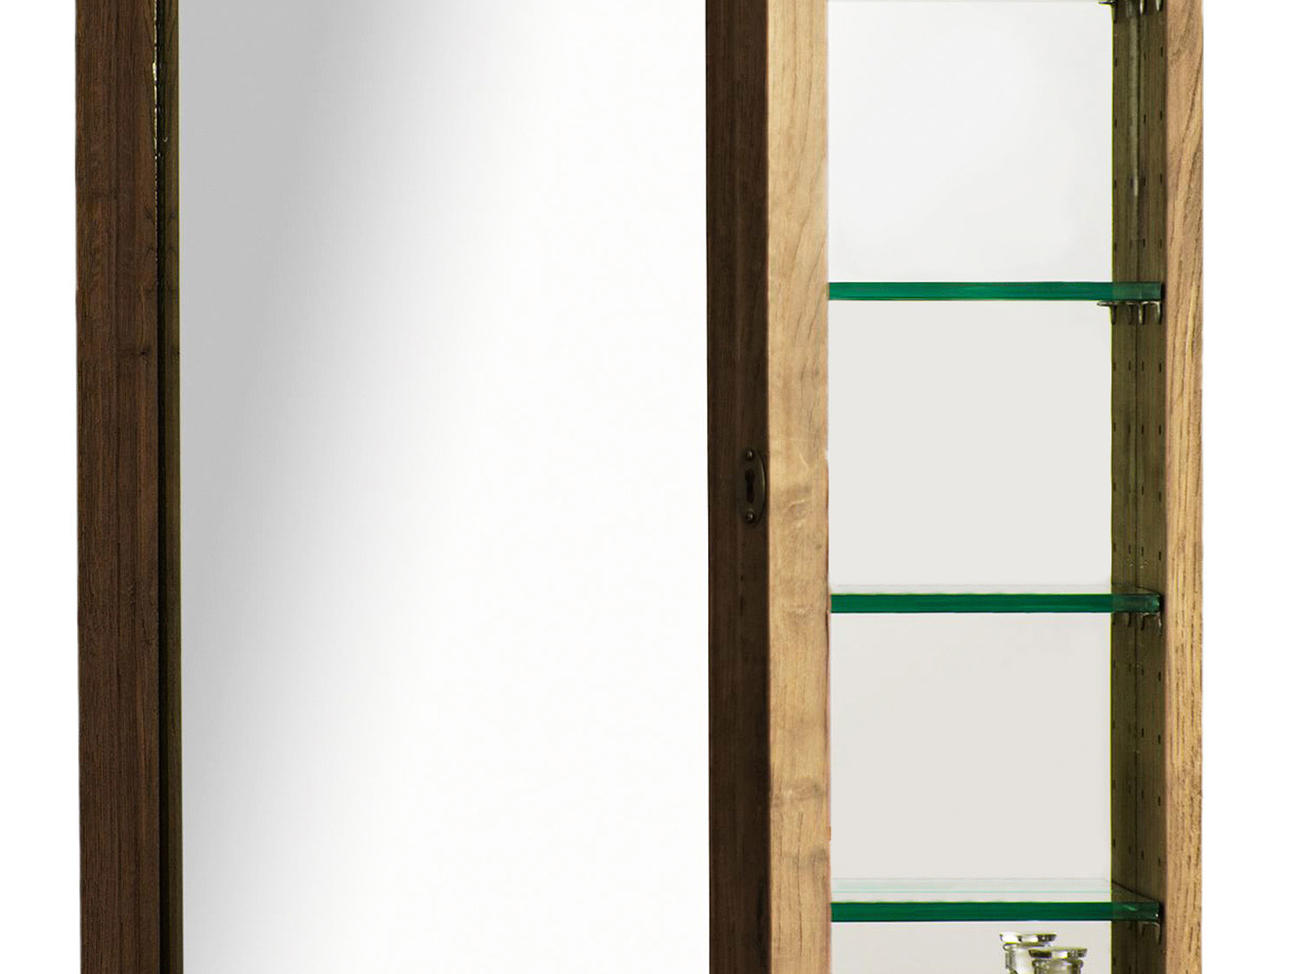
Photo by Jeffery Cross
Materials
- 1 x 6 pine board, 9 feet long
- 3/4-inch plywood, cut to 2 feet by 2 feet
- Glass mirror, cut to ¼ inch by 2 feet by 2 feet
- Wipe-on, water-based finish
Tools
- Tape measure and pencil
- Combination square
- Jigsaw or handsaw
- Sandpaper or sanding sponges, 100 grit, 150 grit, and 180 grit
- Hammer
- Finish nails, 2¼ inch
- Wood glue and paintbrush (to spread glue)
- Microfiber dust cloth
- Mirror adhesive with caulk gun
- Power drill, with bits
- Screwdriver
- Carpenter’s level
- Cleat picture hangers, with fasteners (and wall anchors if needed; see step 6)
Steps
- Cut the frame. Using the tape measure, pencil, and combination square, mark 24 inches from one end of the pine board. With the jigsaw or handsaw, cut out the piece. This is the bottom of the shelf. Then, from the same board, mark and cut a piece at each end that is 24¾ inches long. These are the sides. Finally, cut a piece 25½ inches long, for the top.
- Sand the wood. With the sandpaper or sanding sponges, smooth any rough spots. Start with the coarsest grit and work up to the finest. Don’t round over the corners just yet.
- Attach the sides to the bottom. With the hammer, tap two finish nails into the outside face of each frame side, 3/8 inch from the bottom, 1 inch from the front and 1 inch from the back. Hammer just until the nail tips protrude on the other side. With the paintbrush, apply glue to one of the cut ends of the frame bottom. Align the glued area with the inside face of one frame side, where the nails are protruding. Tap in the nails a bit to lock in the position. Rotate the assembly so the side is on top. Hammer in the nails. Attach the other side to the bottom the same way.
- Add the top. Tap two finish nails into each end of the outside face of the top piece, 3/8 inch from one end, 1 inch from the front and 1 inch from the back. Then, 3 inches from each end, start two nails 3/8 inch from the back edge (these will nail into the plywood). Tip the frame so it rests on its bottom, and spread glue on the top edges of both frame sides. Align the top, and hammer in the 4 nails at the edges. Place the frame face up on your workbench. Lower the plywood into the box. Tap in those nails. Then, rotating the frame as needed, continue to nail in the plywood all the way around, using a total of four nails per side.
- Finish the frame. Do any touch-up sanding, including rounding over the front edges. Wipe off the sawdust with the dust cloth. Apply the finish as the manufacturer recommends. Let dry.
- Add the mirror and hang. Using the caulk gun, spread mirror adhesive on the plywood or the back of the mirror, as recommended on the adhesive label. Lower the mirror into place, and press down firmly to spread the adhesive. Let dry for at least two days. Locate studs within the wall. Using the drill, screwdriver, and carpenter’s level, attach the cleat picture hangers to the studs and to the back of the plywood. If you can’t find studs, install wall anchors. Hang the frame.