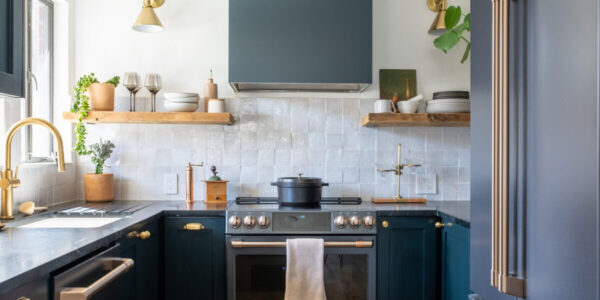
Paint a Striped Bathroom Floor
Walls are not the only place to play with paint. To make your bathroom cheerful, color-stripe the floor
Thomas J. Story
Materials
- Primer (if recommended for the floor paint)
- Eggshell or satin latex porch and floor paint, two colors (for stripes)
- Clear latex glaze
- Latex paint in a contrasting color (to tint glaze)
Tools
- Rubber gloves, bucket, and sponge-type scrub pad
- Household cleaner, or deglosser if the existing paint has a gloss finish
- Random-orbit or finish sander with 120-grit or 150-grit sandpaper
- Vacuum
- Painter’s masking tape, 1 inch or wider
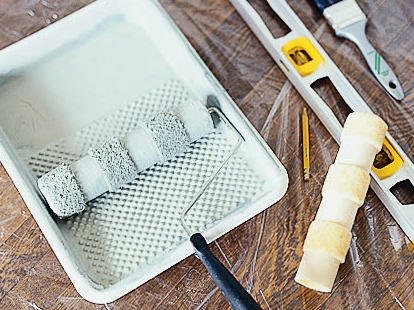
- Paint tray and mini roller
- Synthetic-bristle brush, 2 inch to 3 inch, depending on stripe width
- Plastic container, quart size or larger
- Measuring cup
- Disposable gloves and plastic bowl
- Natural sponge and newspaper
Steps
- Clean. Wearing the rubber gloves, wash the floor with water and the cleaner or deglosser. Wipe away all residue. Let dry.
- Sand. Scuff-sand the floor with the sander, just enough to make it evenly dull. Vacuum.
- Prep and prime. Apply the painter’s masking tape along the lower edge of the baseboard, and press the bottom edge down well. If the paint label recommends a primer, apply it now. Pour the primer into the paint tray and apply it with the roller, followed by a few smoothing strokes with the synthetic-bristle brush. Start in the corner farthest from the door and paint toward the door. Let dry.
- Paint the first color. Decide how wide you want the stripes and mark their edges on the painter’s masking tape on the baseboard. With the roller, paint the whole floor the color that you won’t mottle. Or, if the stripes are wide, just paint strips a little wider than you want them to wind up. After you roll on the paint for each area or stripe, use the brush, nearly dry, to even out the finish. Go over each area only once or twice, easing up on the brush at the end of each pass. Let dry.
- Paint the second color. Using the marks you made in step 4 as a guide, apply the painter’s masking tape to define the stripes. Place the tape on the color you applied in step 4, with the outside edge of the tape along the transition line. Press down firmly on each tape edge that faces an unpainted stripe. Then apply the second color of floor paint. Let dry.
- Prep for mottling. Fill the bucket halfway with water. In the quart-size plastic container, mix the contrasting paint (about 1 cup for most bathroom floors) with twice to four times as much glaze, depending on the color you want, to create the tinted glaze. Put on the disposable gloves and pour some of the tinted glaze into the plastic bowl.
- Mottle. Dampen and wring out the sponge. Dip the tips of the sponge into the glaze in the plastic bowl. Blot the sponge by dabbing it on newspaper. Then apply the glaze to one of the stripes you painted in step 5. Dab up and down; don’t rub. Rinse, wring out, and reload the sponge as needed, always blotting before you continue on the stripe. When you complete one stripe, remove the tape along its edges and wipe off any glaze that smeared onto the adjoining paint-only stripe. Repeat for all the stripes you want to mottle. Let dry.