
New spin on the stars and stripes
Make your own star-spangled pinwheels
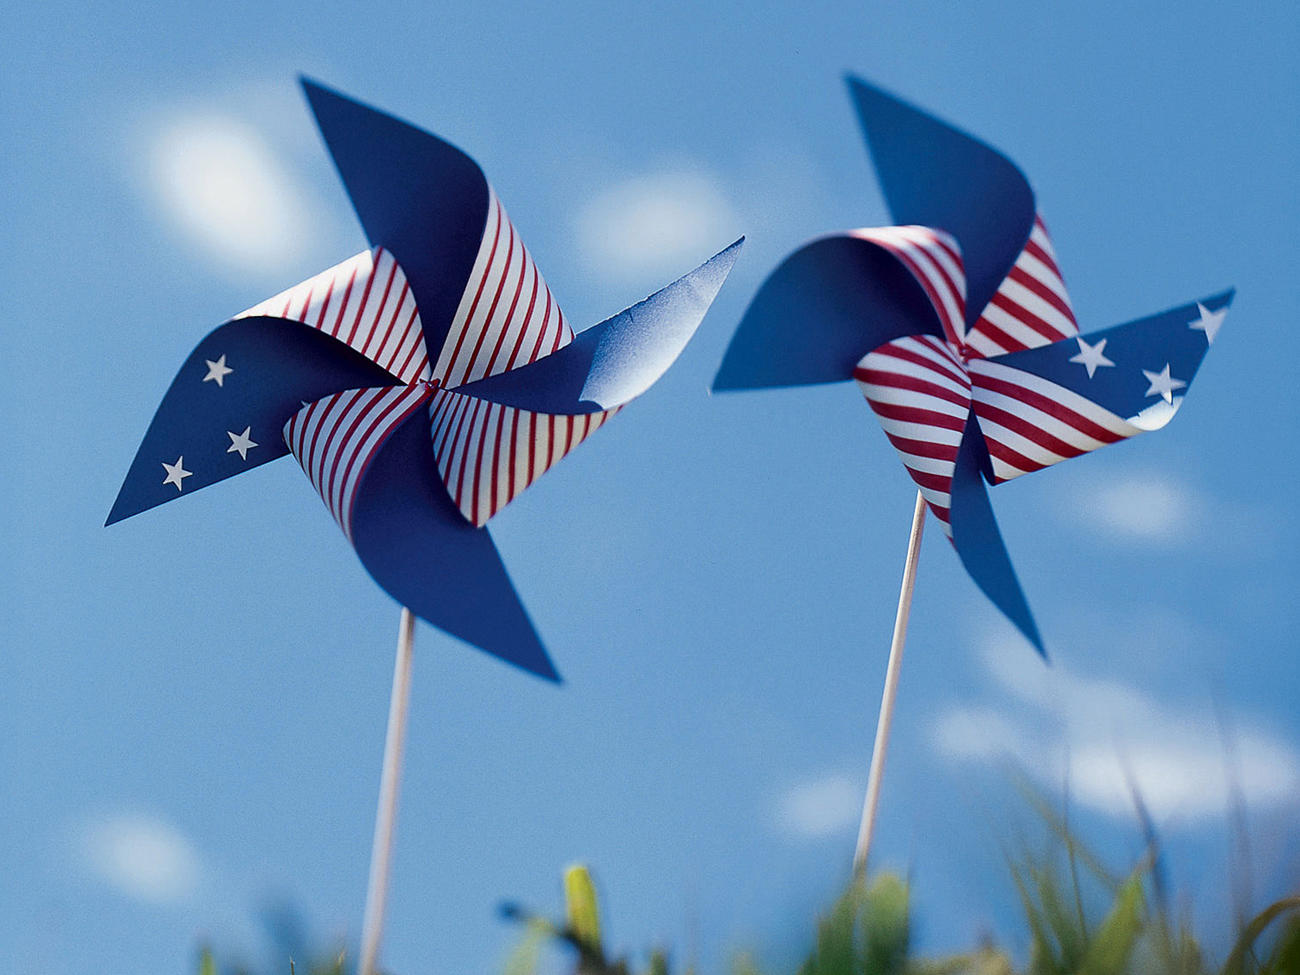
James Carrier
MATERIALS
Ruler
Scissors
Pencil
Utility knife
Pushpins
Thin, 18-inch-long dowels
Small beads
Straight pins
Hot-glue gun
Decorated paper
Download the paper designs
Click on the links below to open the file for each side of the pinwheel. If you have the Adobe Acrobat Reader software installed on your computer, the files will open automatically.
(If you don’t yet have the free Acrobat Reader, click here to install it. Then come back to print your paper.) When each page is fully visible on your screen, print it on your color printer. Then you’re ready to create your pinwheel. DIRECTIONS 2. Use a utility knife or scissors to cut two-thirds of the way from the corner of the square to the center. Repeat for each corner. 3. Use a pushpin to make a hole in a dowel 1/2 inch from the end. 4. Push a bead onto a straight pin, fold alternating sections of the square into the center, and stick the pin through all of the layers. Add another bead to the pin and push it through the hole in the dowel. 5. Place another bead on top of the dowel and test to see if the pinwheel spins freely. Add extra beads between the back of the pinwheel and the dowel if needed before using a hot-glue gun to secure the pin to the dowel. For safety reasons, make sure the point of the pin is always covered. TO DECORATE YOUR OWN PAPER A. Use a ruler and a red felt-tip pen to draw stripes on a piece of white paper. B. Attach the striped paper to a piece of blue construction paper with rubber cement or spray adhesive; the two pieces do not have to fit together perfectly because the paper will be cut down to a smaller size later. C. Cut stars out of another sheet of white paper and attach them to the blue paper with rubber cement. Proceed to Step 1 above. |