Planting a morel habitat: High heels recommended
Just another day at the Sunset headquarters. We took a quick break from our jobs to plant morel spawn in our garden. Paying homage to ...
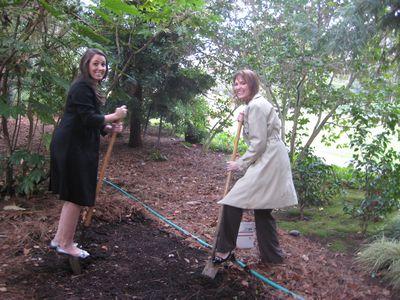
Just another day at the Sunset headquarters. We took a quick break from our jobs to plant morel spawn in our garden. Paying homage to the small delicacies we hope will grow here, we opted to wear nice shoes and clothes to dig and turn the soil (or perhaps the attire was an accident).
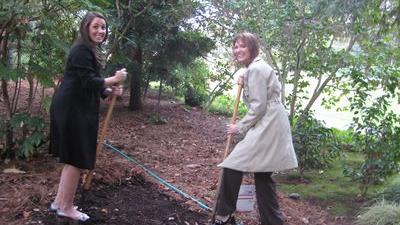
Katie Tamony, Editor-in-Chief, and me turning the soil.
The directions included with our spawn weren’t very clear, but apparently we can expect varying results—different sizes and shapes of morels. And we’re not quite sure when they’ll bloom.
Here is my best attempt at simplifying the process for growing morels.The earliest we can expect them is later this spring, but there is a very good chance that we may not see them for a couple of years. We will let you know when/if we find them. If we don’t have any within the next two years, I would recommend disregarding our method (the uncertainty of mushroom growing drives me nuts).
Quiz: Do you have a potential morel habitat?
- Do you have a 4 to 16 square-foot area of soil?
- Is the space well shaded, with less than three hours of direct sunlight per day?
- Is the area out of the way of foot traffic?
- Is the soil moist, and free of heavy clay and rocks?
- Do you collect compost?
- Is there a water source nearby?
If you answered “yes” to all, you are a potential morel farmer.
How to plant your morel habitat (how we did it, anyway):
- Step 1: Purchase morel spawn (www.gmushrooms.com)
- Step 2: Refrigerate spawn until ready to plant (up to 6 months)
- Step 3: Put on your fancy shoes and coats (optional)
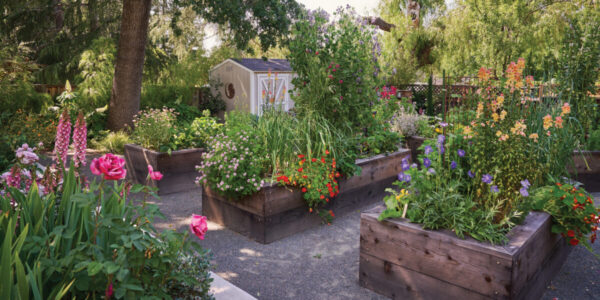
- Step 4: Scout an area in your garden with lots of shade and good soil that is near a water source
- Step 5: Clear a 4-to-16-square-foot space of branches and leaves
- Step 6: Turn the soil 6 to 12 inches deep
- Step 7: Crumble your morel spawn evenly over the area and turn it into the soil
- Step 8: Turn in fresh compostable produce and burned wood and ashes
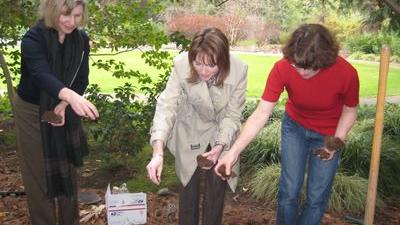
Margo True, Food Editor; Katie Tamony, Editor-in-Chief;and Elaine Johnson, Associate Food Editor, scattering morel spawn.
How we will maintain our morel habitat
- Weekly: turn in compostable materials8 cups of biodegradable materials for a 16 square foot space (less if the weather is warm)
- Add remnants of burned wood to create a more natural habitat for morels since they commonly spring up in areas where forest fires have occurred
- Stop adding biodegradable materials 30-40 days before estimated “morel spring” (see below for “morel spring” seasons)Allow weeds and grasses to grow and fallen leaves to stay will provide protection for the young morels
- Lightly water the area if the ground feels dry
- Fend off tourists that may find our morel patch
Other information you should know
- When should you plant? If you live in an area with a mild climate, you may plant any time of year; Otherwise, it is optimal to plant when the daytime highs are in the 60s and 70s
- When will you find morels?–If you live in a mild climate “morel spring” may occur January through April.–If you live in an area with brutal winters, “morel spring” is likely to occur in May or June
- A couple of weeks after a heavy rain, inspect your habitat for toothpick-like sticks: morels! The morels will take a couple more weeks to fully mature
For more photos, visit Sunset’s Facebook page