How to Make Homemade Vanilla Extract and Never Buy Imitation Stuff Again
Follow this infusion recipe to DIY your own vanilla extract
During Christmas, a.k.a. the ultimate season for baking and swapping all meals for cookies, vanilla extract is in high demand. Many store-bought extracts contain dextrose, corn syrup, sugar, and artificial flavors. Oftentimes, they’re even watered down. Lame! Whether you’re a seasoned baker wanting a healthier alternative, or searching for awesome DIY food gifts in a jar, you really can’t go wrong with homemade vanilla extract—especially when it’s made with pure and simple ingredients.
To pull this off, you really don’t have to be Martha Stewart or someone who spends entire lunch breaks on Pinterest. You’ll only need vanilla beans, alcohol, and a tiny bit of patience (legitimately the hardest part) to make your own vanilla extract at home. Yep, vanilla extract is made with liquor. Once you’re done, start adding it to everything—granola, quick bread, French toast, oatmeal—and you’ll never buy the store-bought version again.
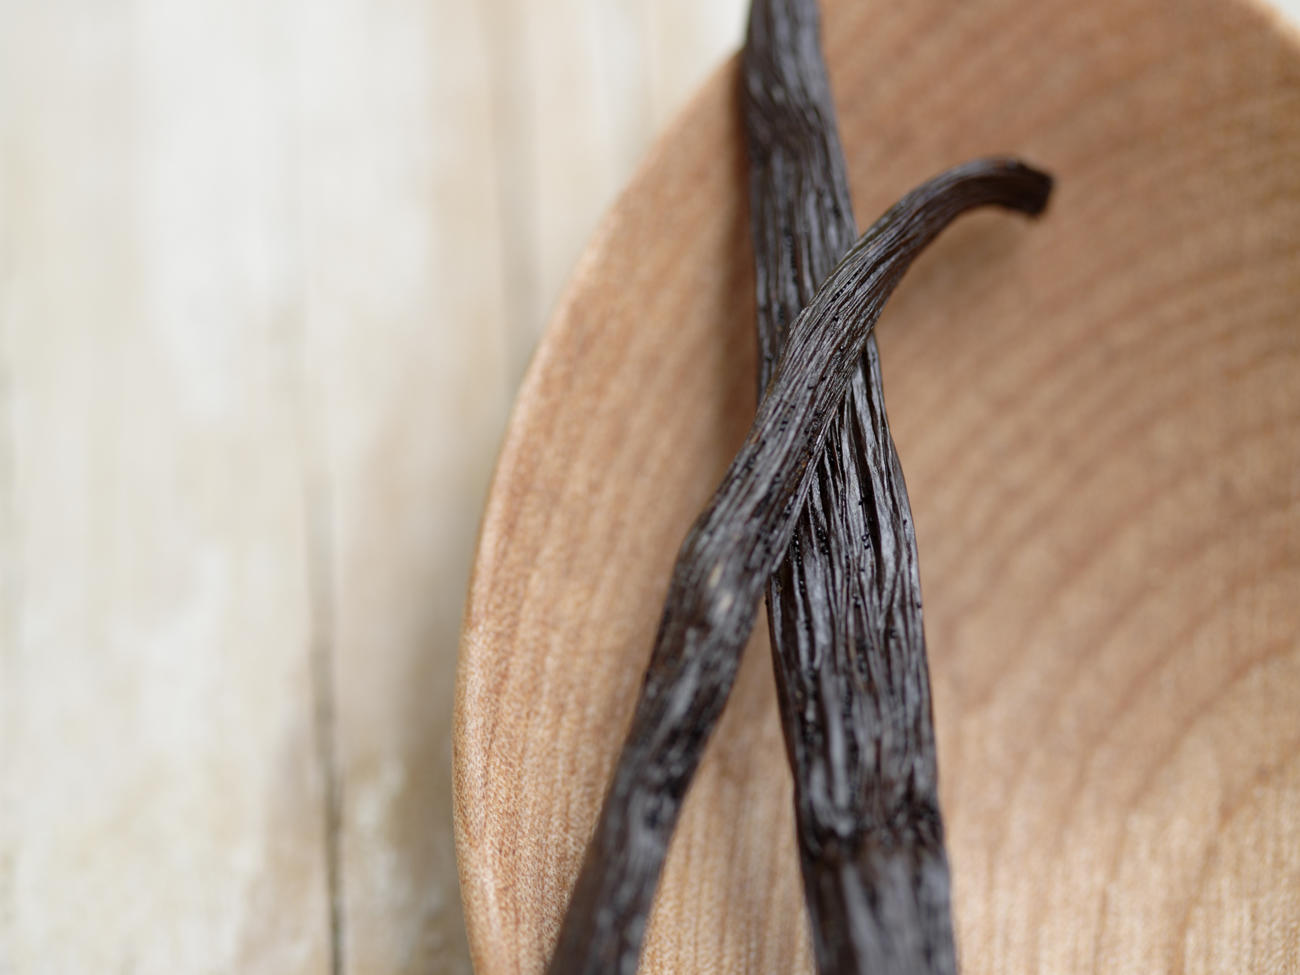
First, know your beans. No beans about that! (Oh, god, help me.) The guys can get pricey and that’s totally OK since vanilla beans are one of world’s most labor-intensive crops. I know you’re probably on a budget like me, but vanilla is just one of those things you should never skimp on: always buy the real stuff, never the imitation crap. The most common varieties of vanilla are Madagascar and Bourbon. Others include smoky and spicy Mexican vanilla, floral, fruity, and chocolatey Tahitian vanilla, milky Ugandan vanilla, and smoky and woody Indonesian vanilla. Take your pick, or mix and match. If you’d like to try a few, purchase a sampler of beans from Beanilla or eBay and learn which varieties you prefer.
It’s also worth knowing the difference between Grade A and Grade B vanilla beans. Grade A beans (also called “gourmet” or “prime”) are usually what sit in the spice aisle most groceries. They’re best used in recipes that call for paste or seeds. Grade B vanilla beans are specifically ideal for extracting because they’re drier and have a lower water content. Although Grade A vanilla beans are sold by the bean, Grade B is sold by weight, which means you can save a buck. Hot tip!
Next, bust out the booze. Most of the time, vodka is used to make extract. Its neutral taste allows the pure vanilla to shine. With vodka, the taste of the end product will come very close to the store-bought version. But rum, brandy, and bourbon work, too, depending on how much flavor variety you’re really looking for.
In general, cheap liquor is questionable… like, college-questionable. But when it comes to making vanilla extract, you can go cheap without sacrificing flavor. Wódka, Old Crow, and El Dorado are probably familiar to 19-year-old you. These are actually perfect, unless bottom-shelf brands trigger memories of a frat basement. Alternatively, you can reach for something slightly more expensive—for your sake. Whether you decide to buy new bottles or use whatever’s left from last weekend (no judgements), just make sure the liquor is at least 40 percent alcohol—that’s 80 proof.
It doesn’t take long to see and smell the results, but it does take a few months for the alcohol to turn into extract. Plan ahead if you’re giving homemade vanilla extract as holiday gifts. Start in September and your DIY food gifts should be ready just in time for the holiday season. Obviously that’s not always practical, and you might start bottling in early December. In that case, when gifting, tie a tag onto the bottle or place a sticker on the jar indicating when it’ll be ready for use. In six weeks, the alcohol will be infused with vanilla, but it’s only after three months that it truly transforms into extract. Much like a fine wine, vanilla extract matures over time when stored in a cool, dark place. The longer it steeps, the more flavorful it will be. In the image below, from left to right, is extract that sat for 3 months, 3 weeks, and 3 days.
Homemade Vanilla Extract
This homemade vanilla extract recipe is totally customizable depending on the size of your bottle or jar and how many you’d like to fill. Here’s a good rule of thumb: Use 2 to 3 vanilla beans for every half cup of alcohol, or 6 to 7 beans for every cup. It’s all relative. Let’s get started!
Ingredients
Vanilla beans
High-proof alcohol of your choice (vodka, rum, brandy, bourbon, or all four)
Clean glass bottles or jars (I personally love Ball’s new 4-ounce mini storage jars—they’re so cute and tiny)
Directions
STEP 1
Flatten each vanilla bean by dragging the dull side of a knife across its surface. This will help disperse the seeds evenly throughout the pod. Split each bean in half lengthwise, leaving it connected at one end.
STEP 2
Place the vanilla beans into a clean, empty jar. Pour in just enough alcohol to fill the jar, making sure the beans are completely covered. Seal tightly.
STEP 3
Store the jar in a cool, dark place for a few months, giving it a little shake every other week or so. You can also open it on occasion to sniff or taste.
STEP 4
Once three months have passed, you can remove the pods and transfer the extract to dark-glass jars to preserve the flavor. Leaving the seeds in the extract will lend a stronger flavor to your baked goods. If you prefer a speck-less extract, strain the seeds out with a coffee filter, cheesecloth, or nut milk bag (which is a real thing; thanks, Gwyneth). Once the pods dry out, you can scrape the seeds from their insides and use as a paste.
Or, you can forget straining the extract altogether, and just keeping topping off the bottle when it starts running low. If you chose to do this, keep adding new vanilla beans to the bottle as most of the flavor from the original beans would have already been extracted. Go forth into that vanilla-infused night.